Boundary and Vault Configuration
Direct Impact Solutions | Boundary & Vault Configuration
Configure Microsoft Entra ID with Boundary
1. Log on to Microsoft Entra with an account that has administrator access.
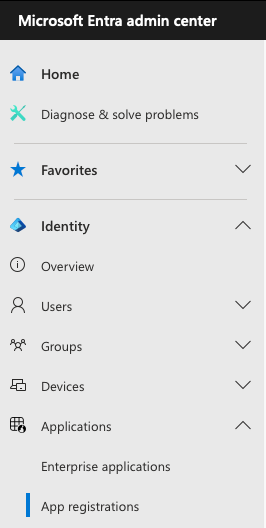
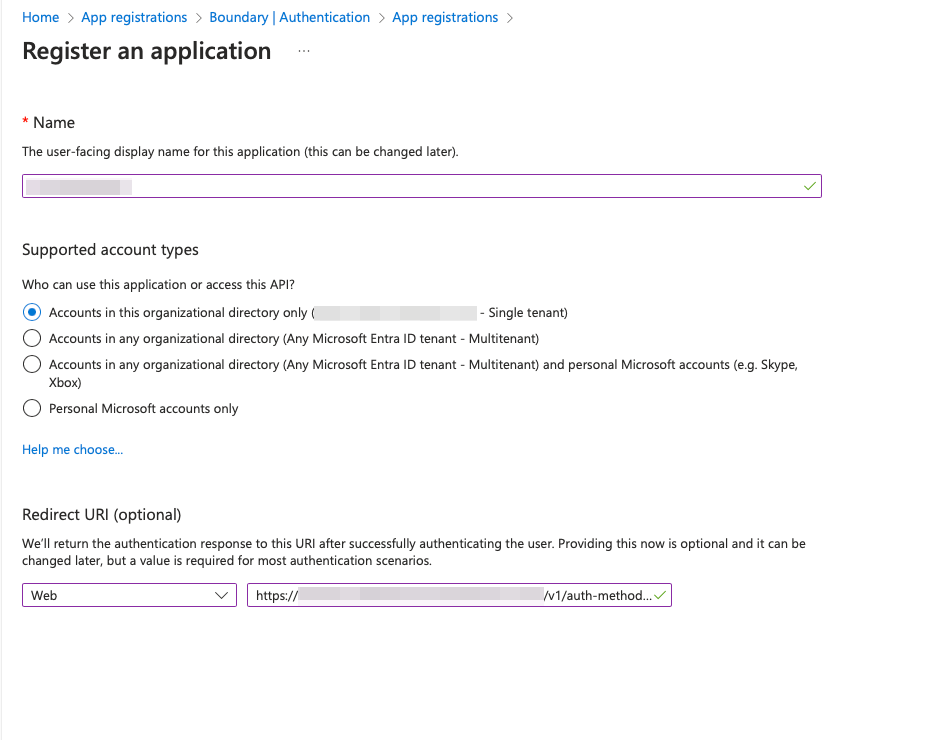
2. Go to the Applications/App registrations section and click on + New registration
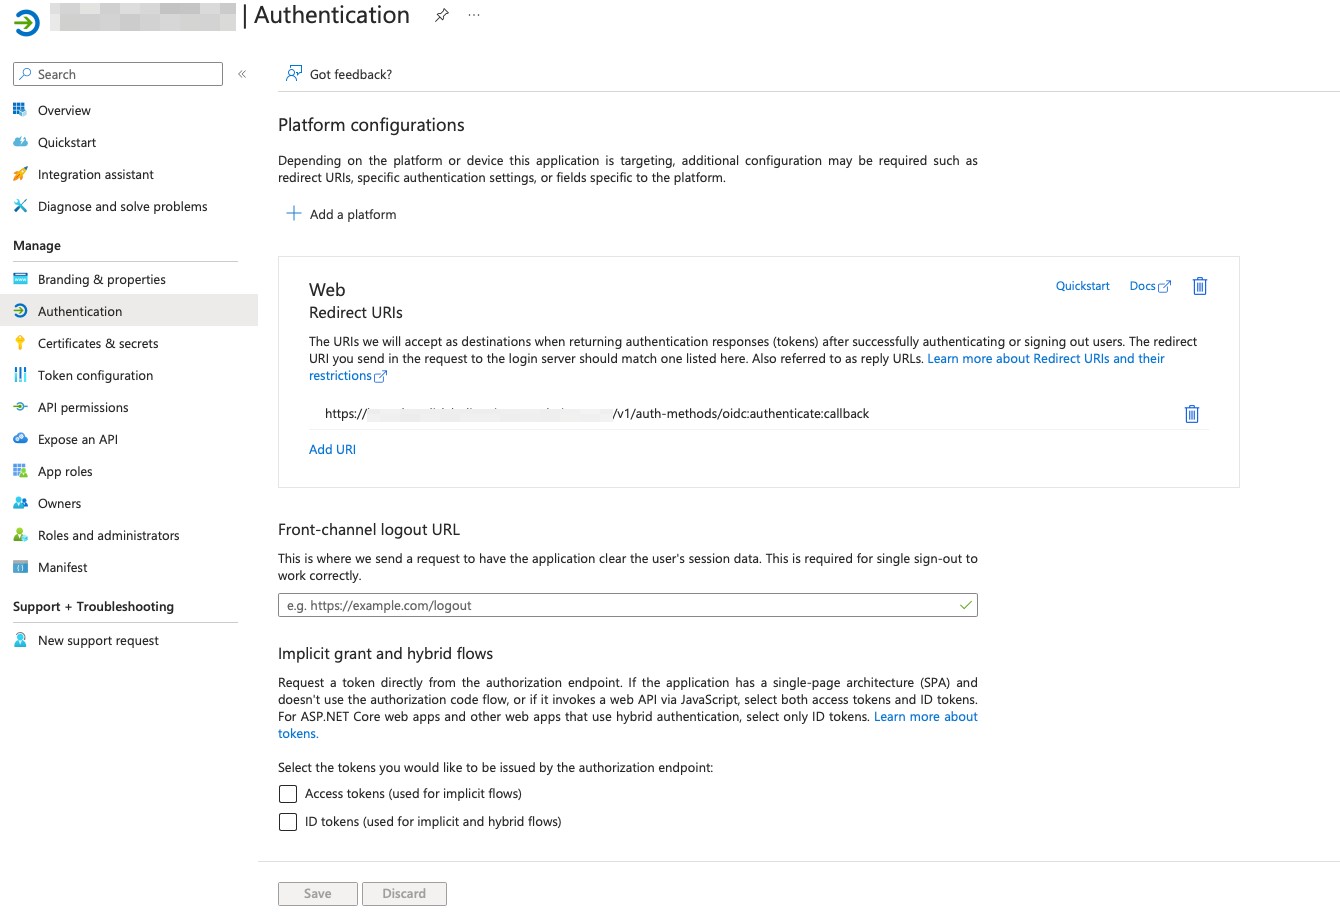
3. Enter a name for your application and add a web url linked to the domain name of your Boundary server, followed by v1/auth-methods/oidc:authenticate:callback
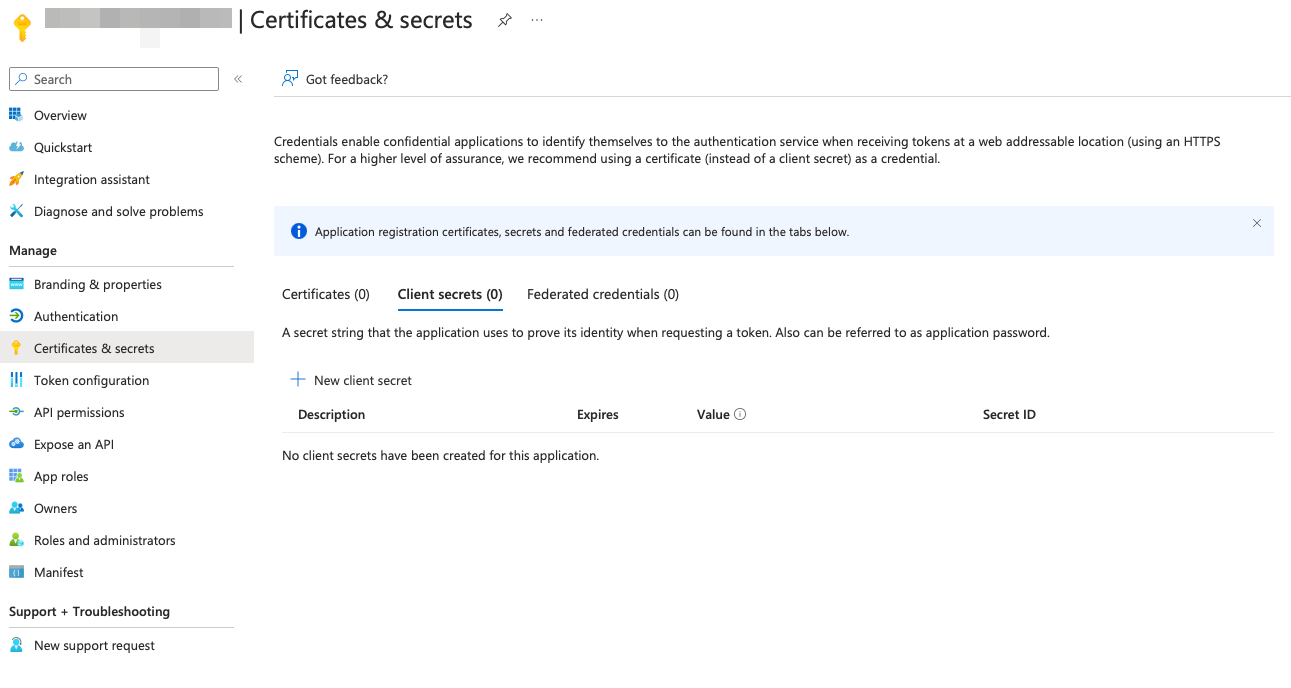
4. Then go to the Certificates & secrets section and create a new secret
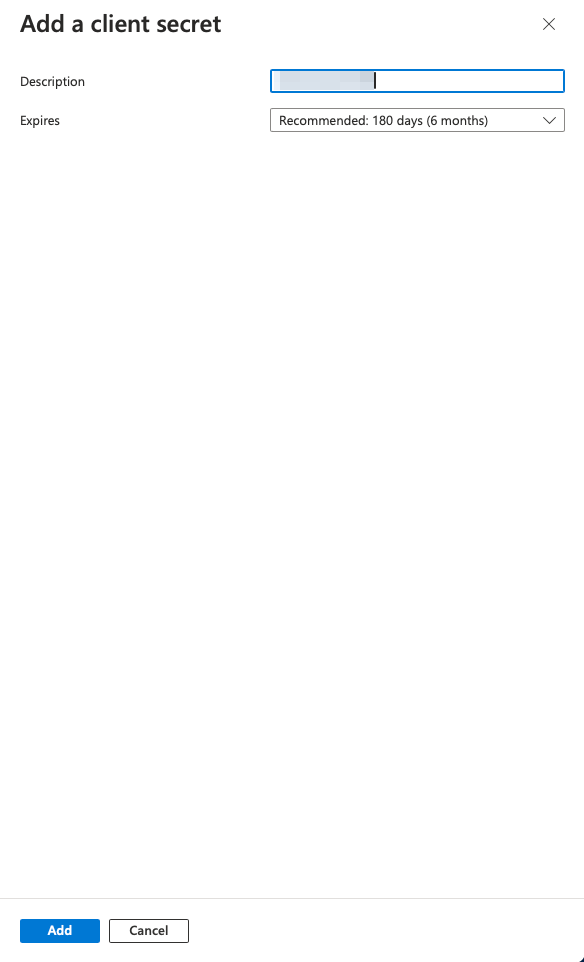
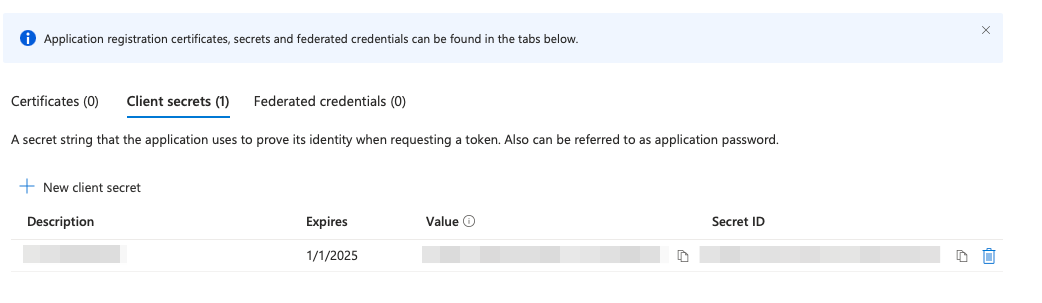
5. Take note of the secret value displayed, as it will automatically disappear if you move to another section.
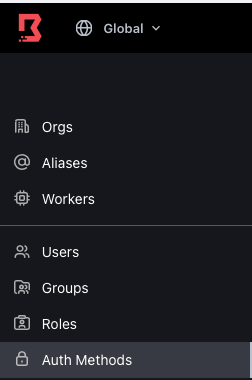
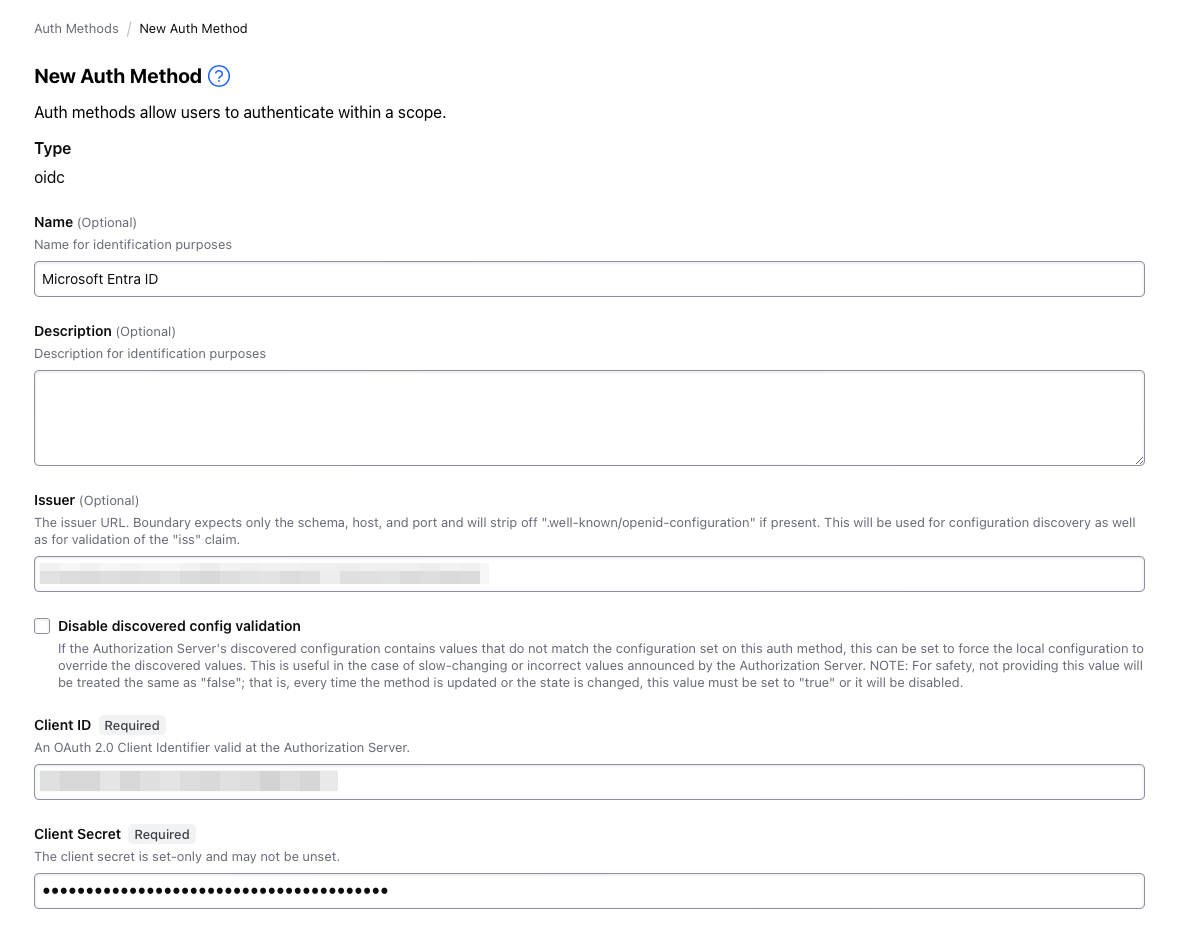
6. Now log on to your Boundary server using the admin account and go to the “Auth Methods” section.
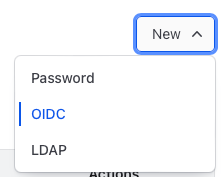
7. Click on New and select OIDC.
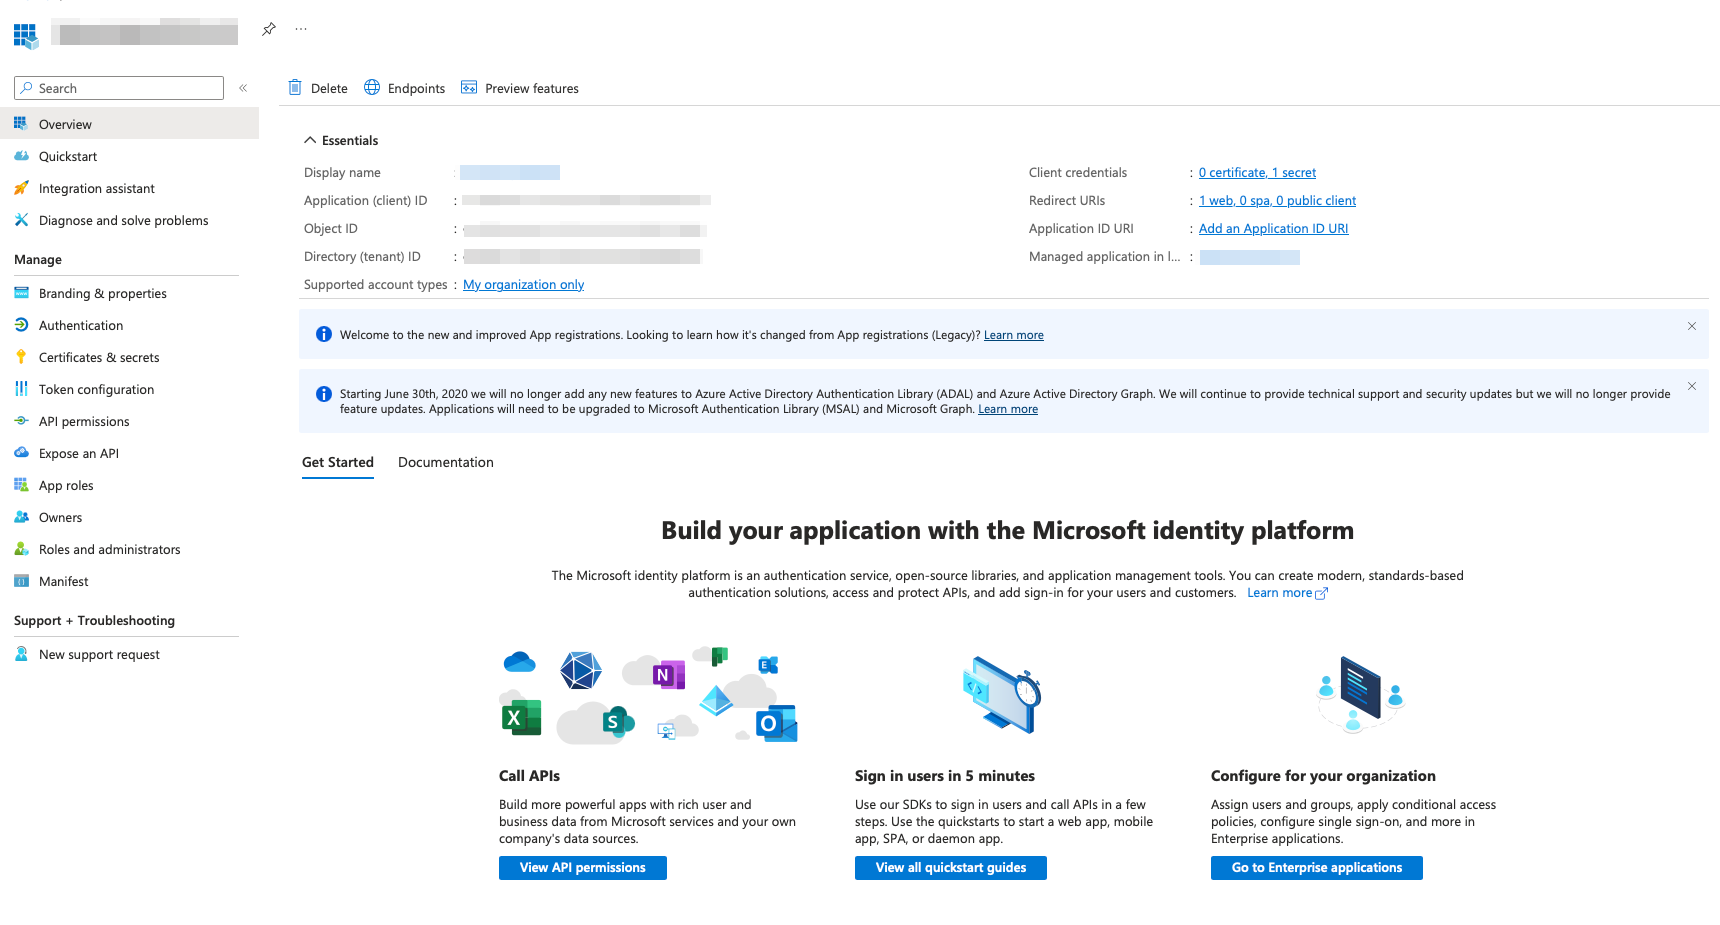
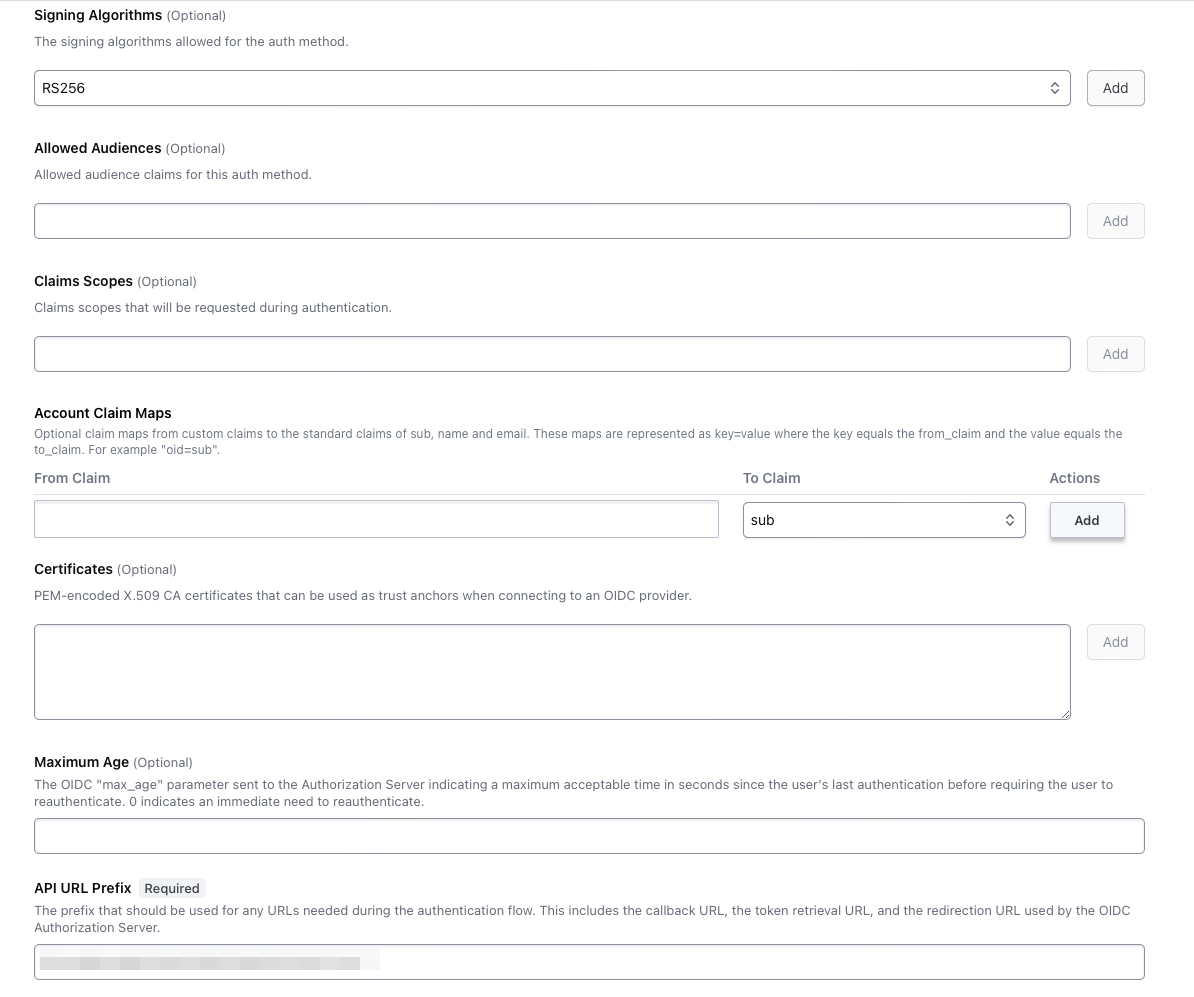
8. Enter a name for the connection. Then, in the Issuer section, enter https://sts.windows.net/ followed by your Directory (tenant) ID, which you can find in the Overview section of your application. The client ID is the number displayed in the Application (client) ID section, and the client secret is what you generated earlier. In the Signing Algorithms section, select RS256, click on Add and add your Boundary server url in the API URL Prefix section.
9. Once saved, you can validate that the address displayed in the Callback URL section is identical to the one you put in the Authentication section of your application.

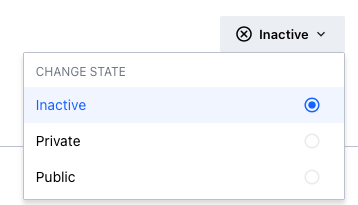
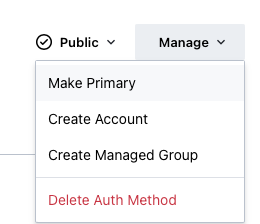
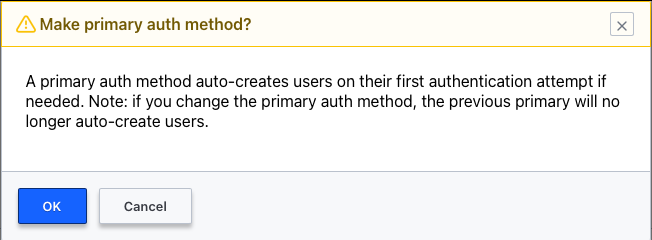
10. All that remains now is to change the status in the top right-hand corner to Public. You can also go to the Manage section and set this type of connection as the default by choosing Make Primary and confirming.
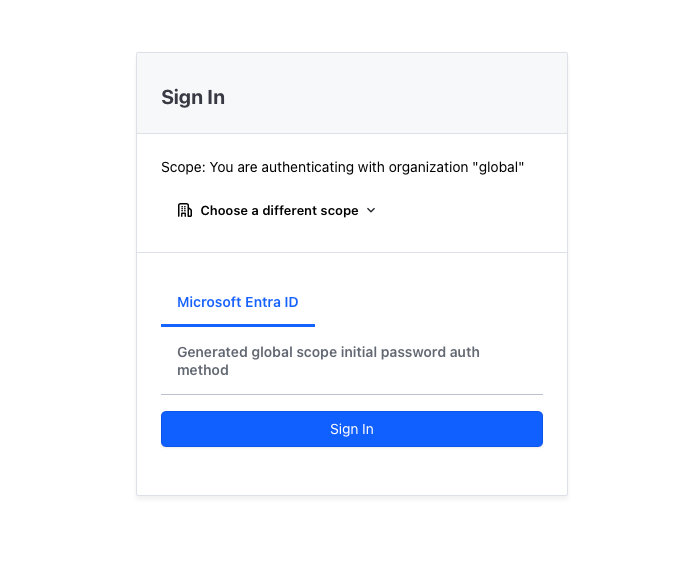
11. Once this has been done, the Microsoft Entra ID section should appear and be selected by default when authenticating to your Boundary server.
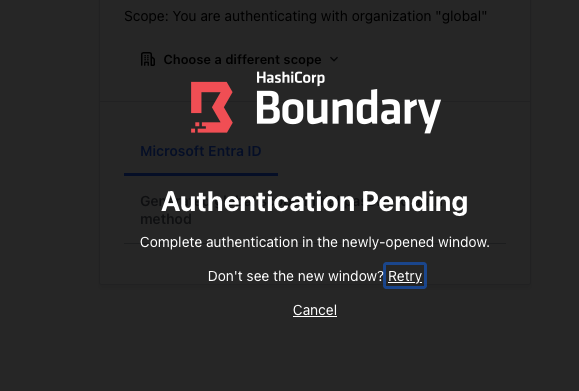
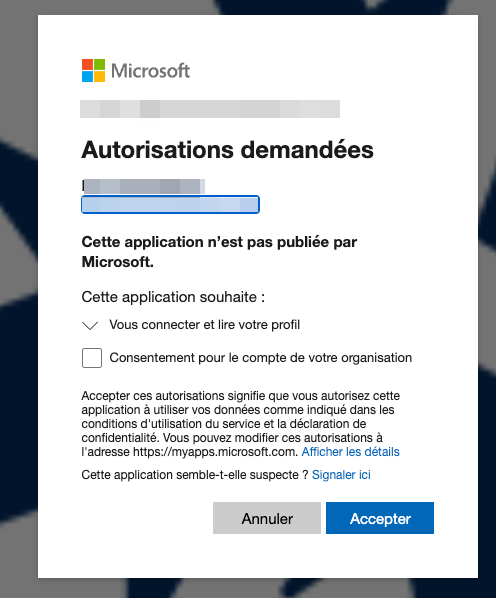
12. If the configuration has been carried out correctly, a new window should open and you should be able to authenticate with your Microsoft account. The first time you connect, you’ll need to authorize and approve the connection. If you’re an administrator on the Microsoft side, you’ll have the option of granting consent for all users in the organization.
13. Once authenticated, you should see the project, which is created by default in Boundary but with limited access.
14. Microsoft Entra ID configuration is complete.
Configuring Vault for a Boundary Connection
To enable Boundary to connect to Vault to retrieve certain accesses, we need to create an access rule.
1. Log onto your Vault server’s web interface and authenticate with the root token.
2. Go to the Policies section and click on the Create ACL policy button.
3. Name the boundary-controller and enter the following information in the Policy section:
# Copyright (c) HashiCorp, Inc.
# SPDX-License-Identifier: MPL-2.0

path "auth/token/lookup-self" {
  capabilities = ["read"]
}
path "auth/token/renew-self" {
  capabilities = ["update"]
}
path "auth/token/revoke-self" {
  capabilities = ["update"]
}
path "sys/leases/renew" {
  capabilities = ["update"]
}
path "sys/leases/revoke" {
  capabilities = ["update"]
}
path "sys/capabilities-self" {
  capabilities = ["update"]
}
path "ldap/*" {
  capabilities = ["list", "read"]
}
path "kv/*" {
  capabilities = [ "list" ]
}
path "kv/*" {
  capabilities = ["create", "read", "update"]
}
# To allow the extension of TTL
path "sys/leases/renew" {
  capabilities = [ "update" ]
}
# To list SSH secrets paths
path "ssh/*" {
  capabilities = [ "list" ]
}
# To use the configured SSH secrets engine opt_key_role role
path "ssh/creds/otp_key_role" {
  capabilities = ["create", "read", "update"]
}
4. Press the Create Policy button to complete the configuration.
Adding Vault to Boundary
Here are the steps required to enable Boundary to connect to Vault:
1. Log onto your Boundary server’s web interface with the admin account or an account with administrative rights.
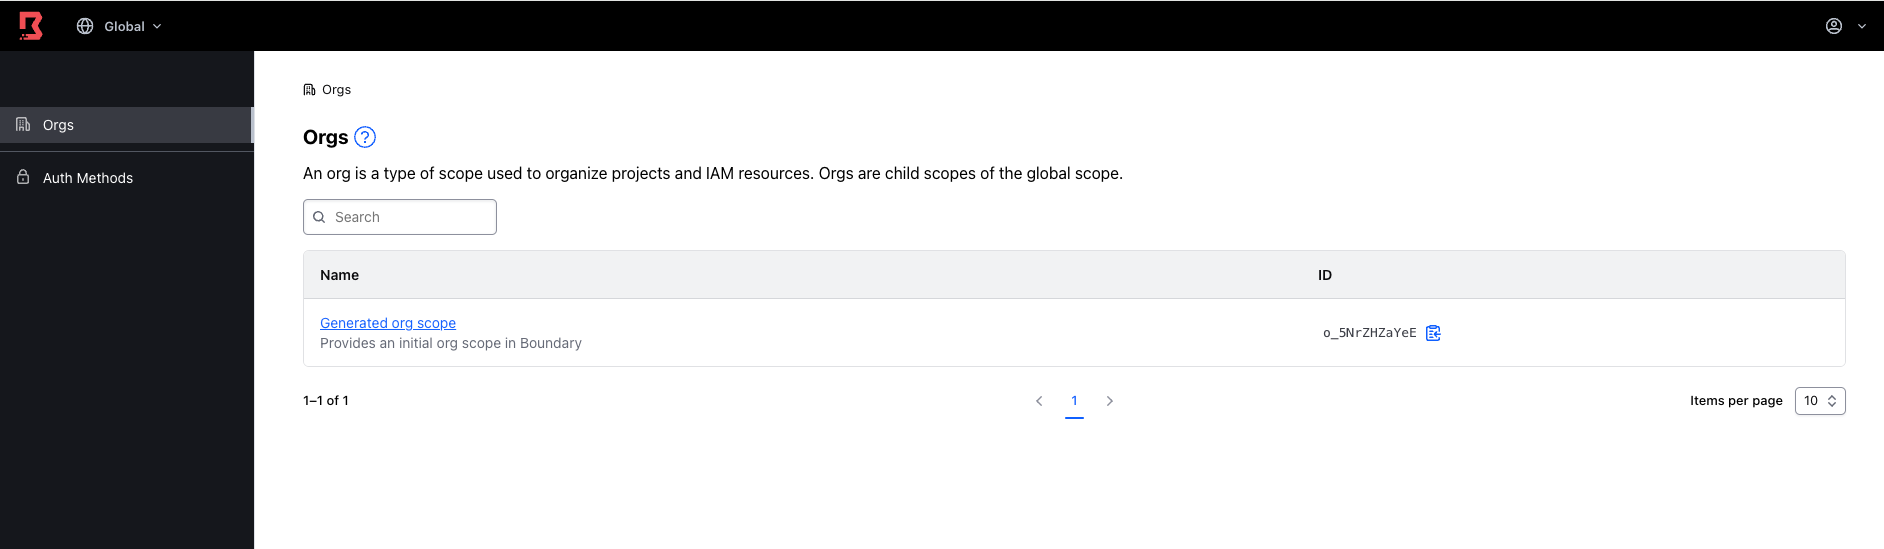
2. Once connected, delete the organization that was automatically created during initial configuration.
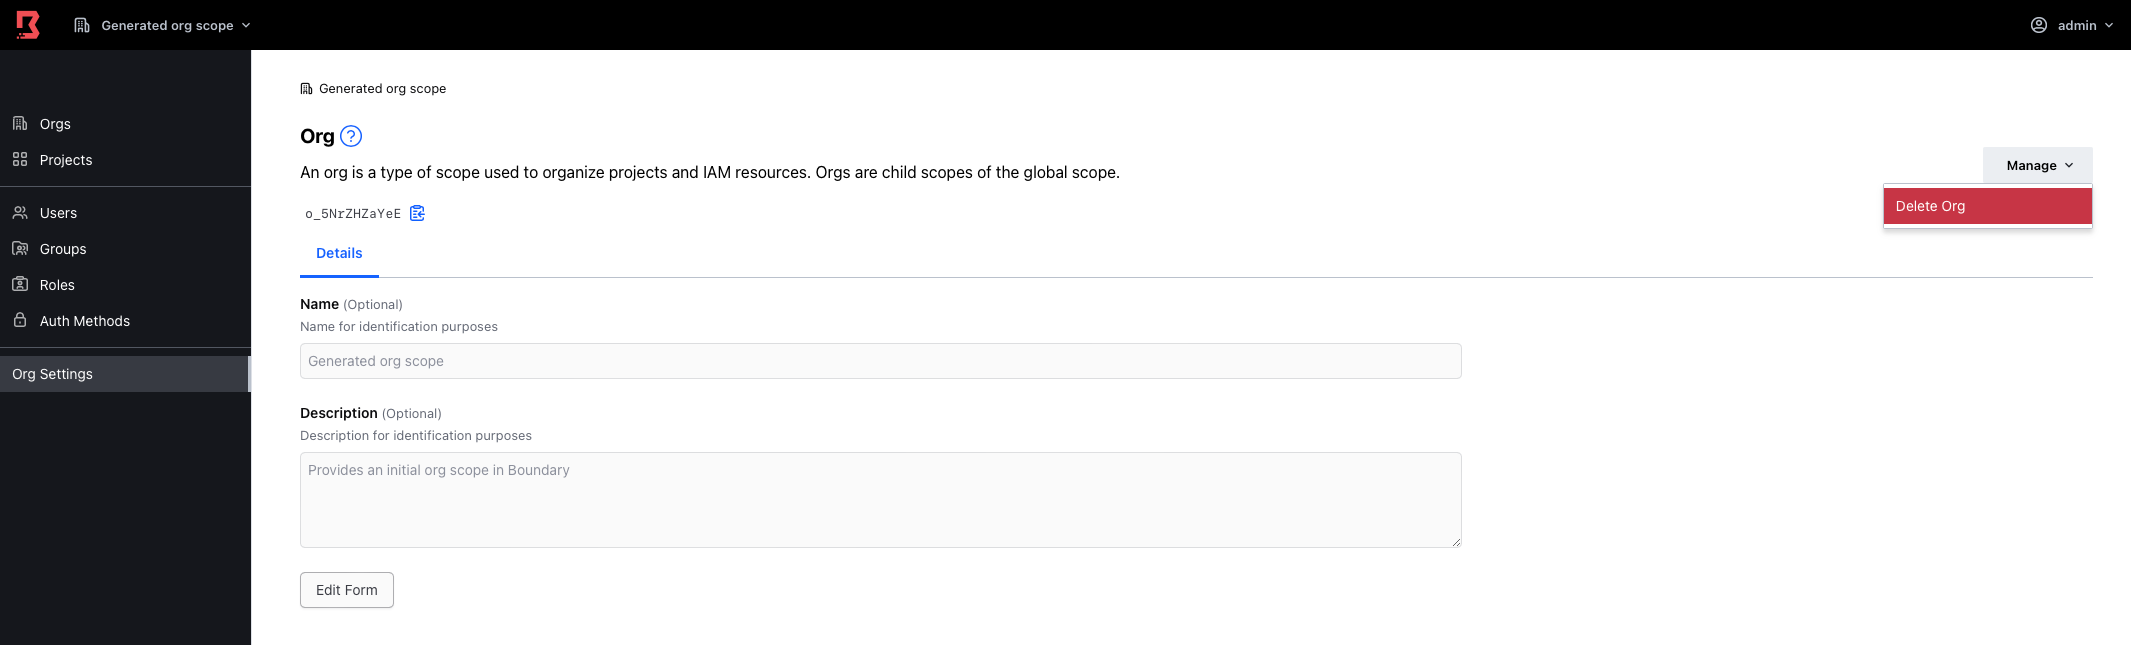
3. Select the Generated org scope organization, go to the Org Settings section, select Manage in the top right-hand corner and click Delete Org.
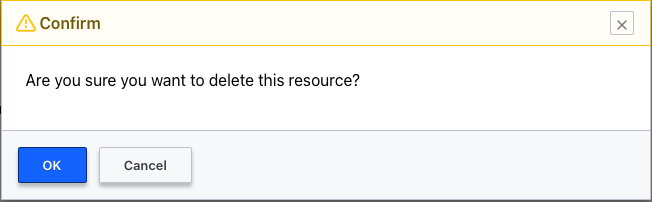
4. Confirm deletion.
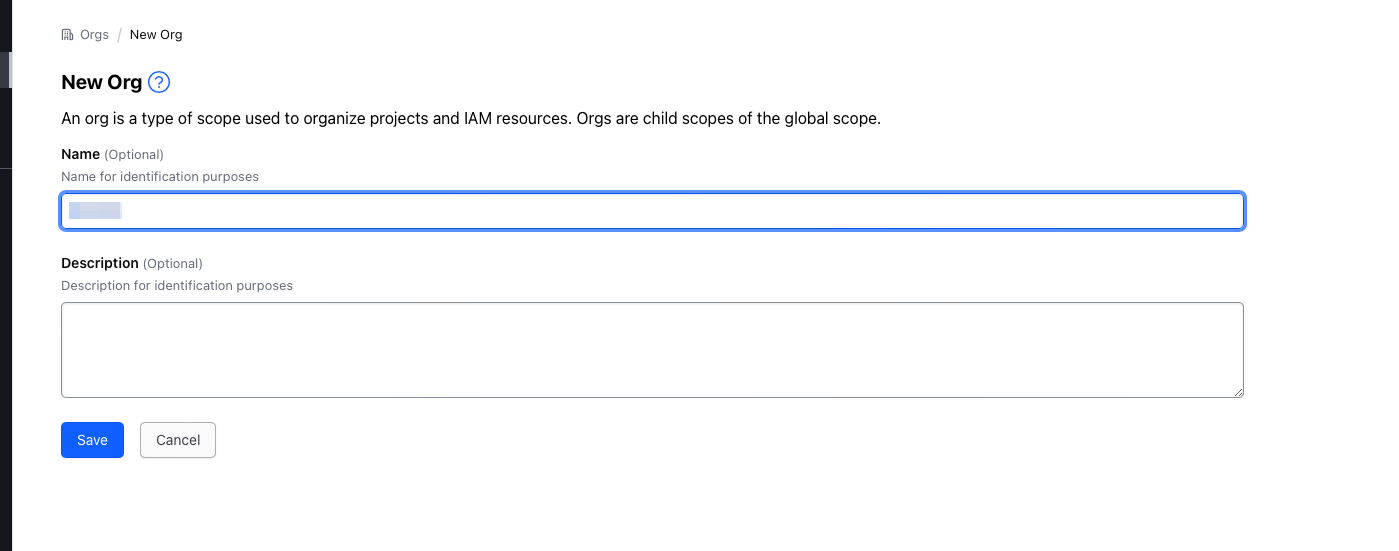
5. We’re now going to create a new organization by clicking on the + New button.
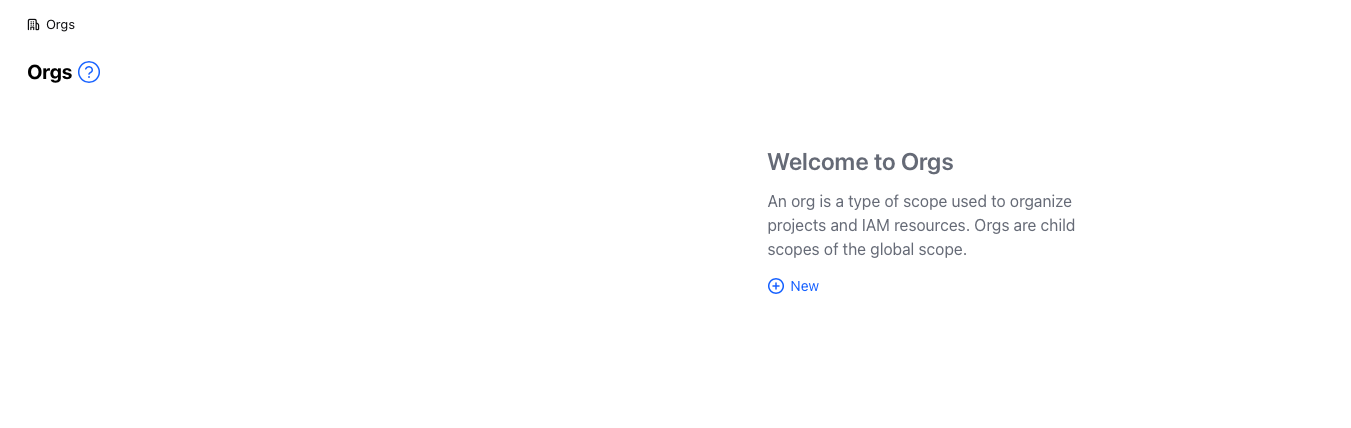
6. Enter a name for your organization, a description if you wish, and press the Save button.
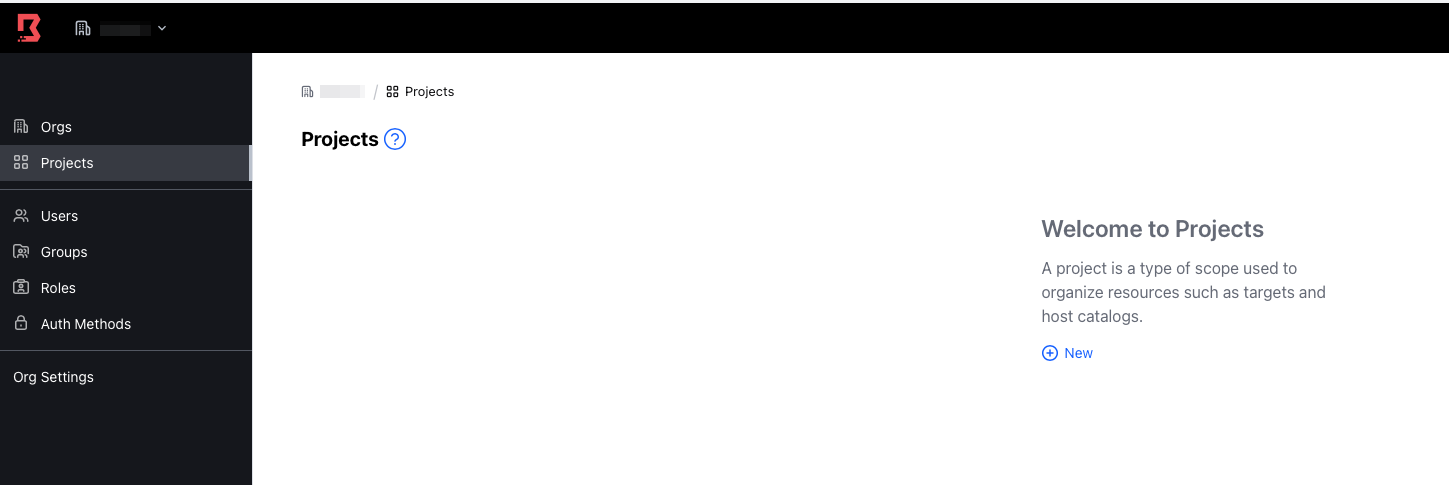
7. Then go to the Projects section of your new organization and press the + New button.
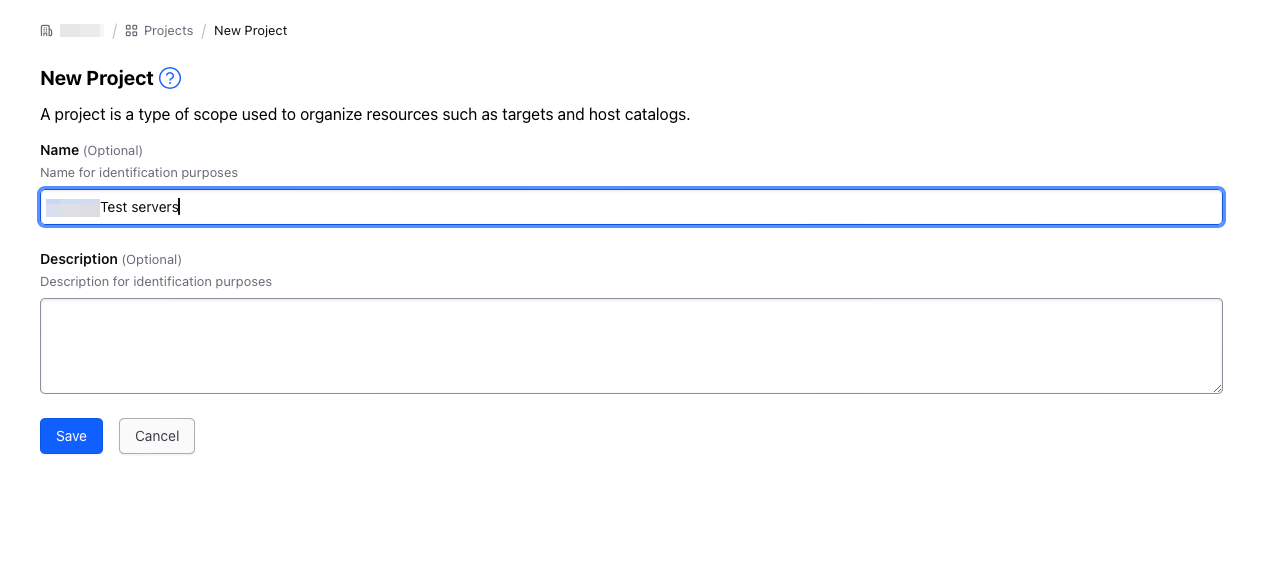
8. Enter a name for this project and a description if you wish, and click on Save.
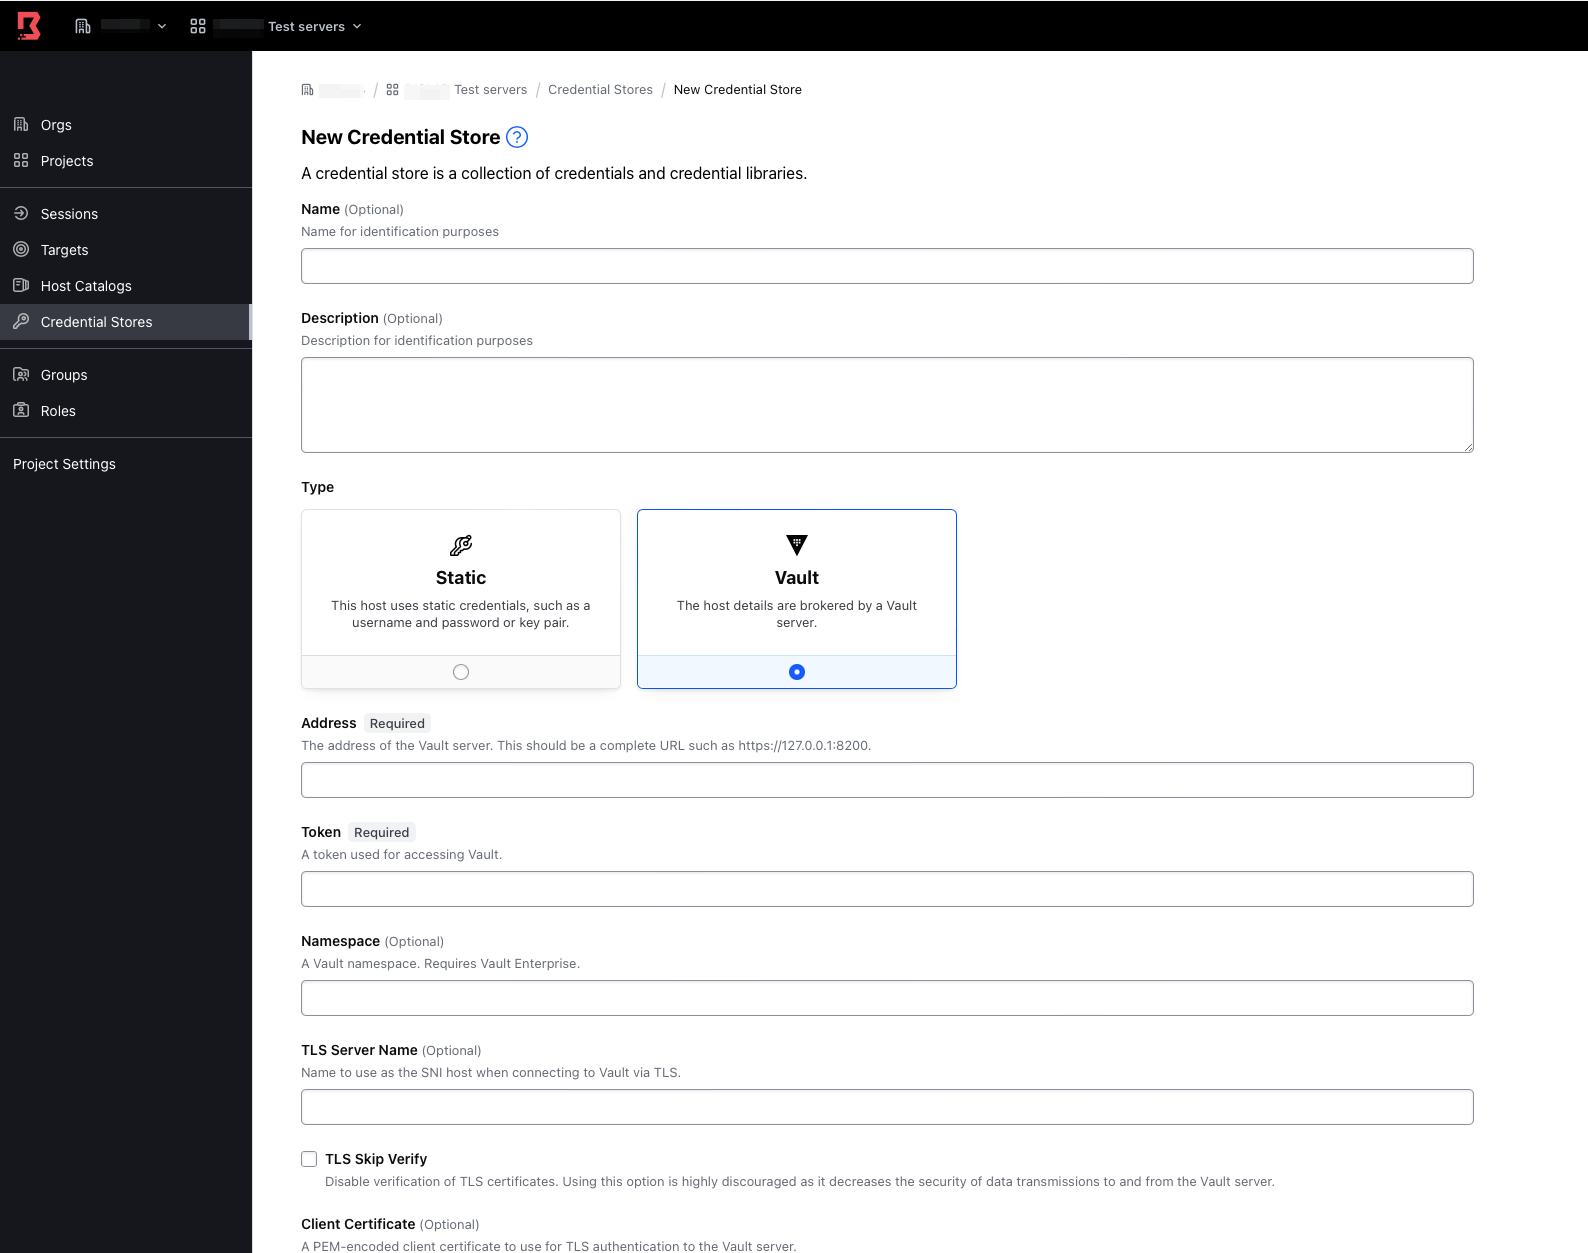
9. To add a Vault server, go to the Credential Stores section, click on New and select Vault.
10. To generate a token, you need to connect to your Vault instance/server via SSH.
11. Once you’ve connected to your instance/server, you first need to store two variables: the url of your Vault server and the root token.
export VAULT_ADRR='https://UrlOfYourVaultServer:8200'
export VAULT_TOKEN='RootTokenFromJSONFile'
12. Once this is done, enter the following command to generate a token which will be valid for 20 minutes, but which the Boundary server will be able to renew automatically once the connection is established. If you have installed a valid SSL certificate on your Vault server, you can remove the last section of the command, which ignores the validity of the certificate.
vault token create -no-default-policy=true -policy="boundary-controller" -orphan=true -period=20m -renewable=true -tls-skip-verify13. Copy the token beginning with hvs that appears and enter it in the Token section of the Boundary page where you want to add Vault. Also enter the address of your Vault server in the Address section before saving. You can also enter a name and description if you wish, but this is not required.
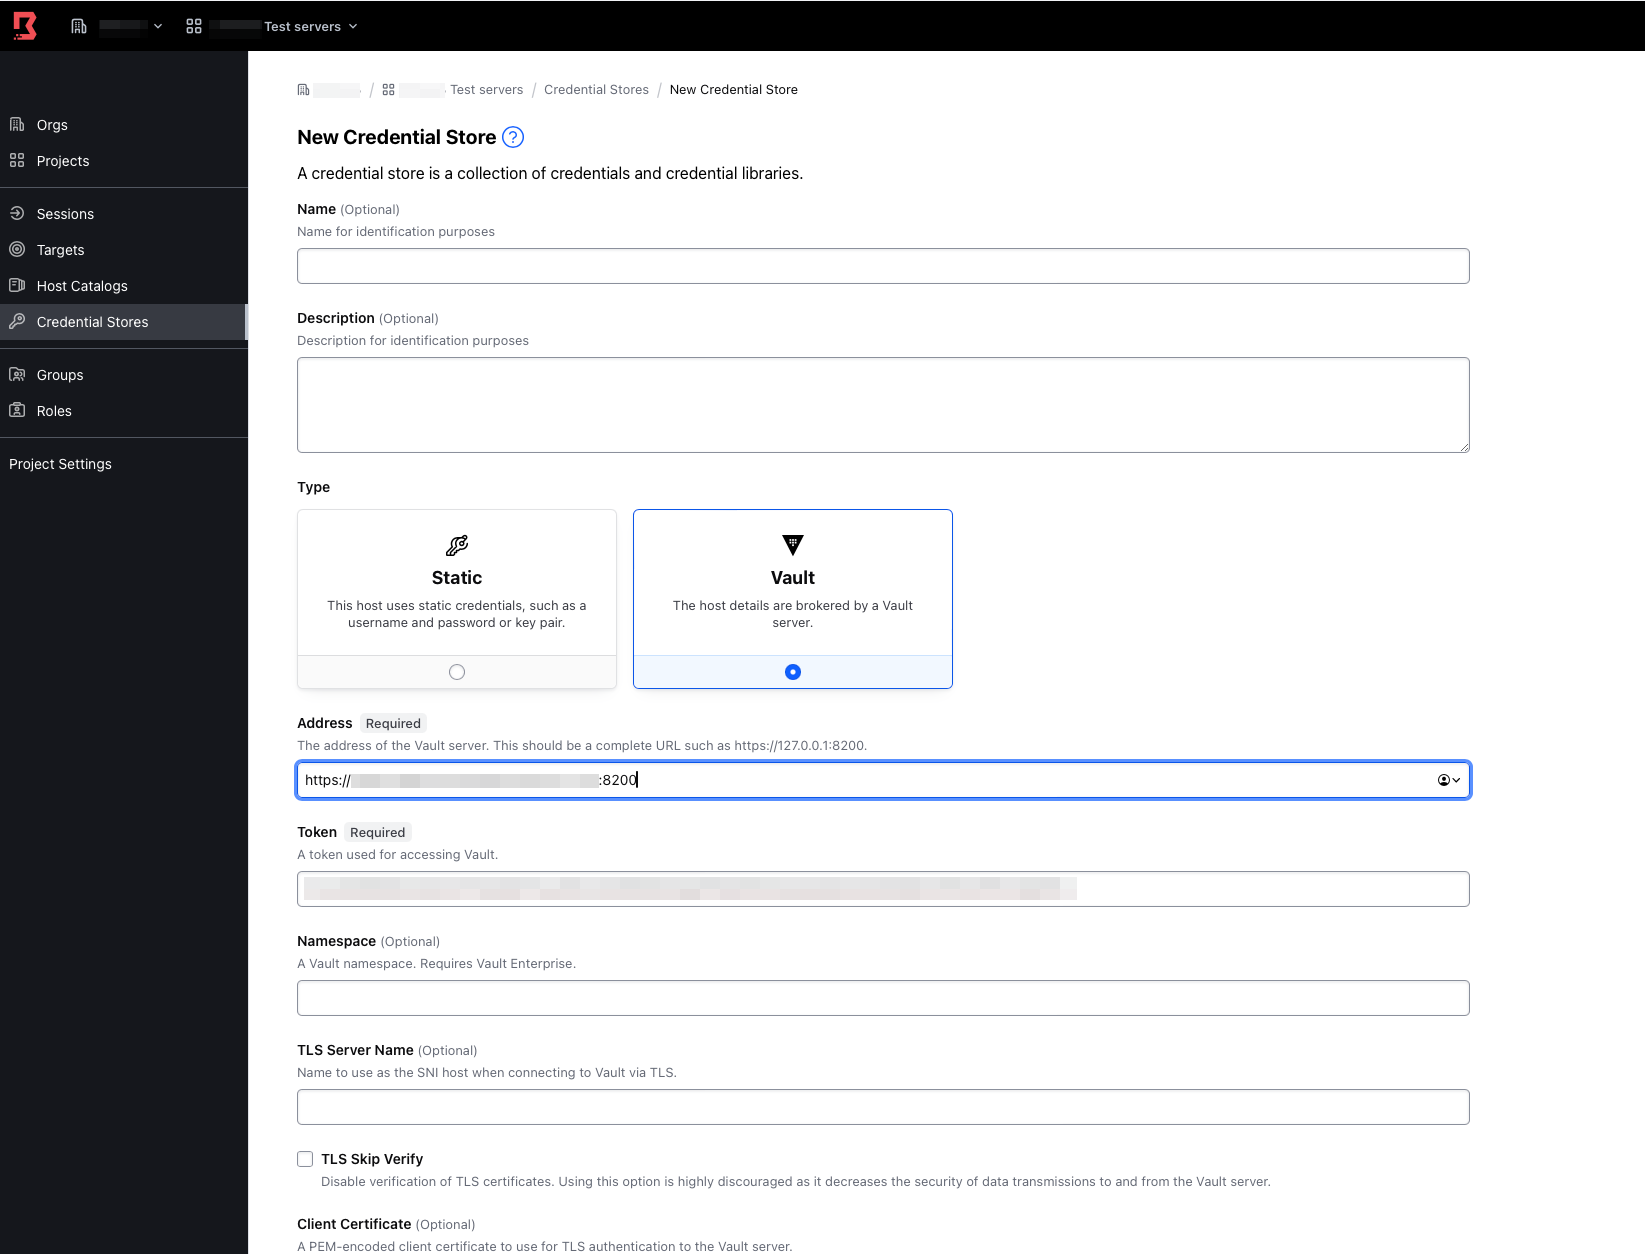
14. If the connection works, you should receive a message saying the connection was successful, and then in the Credential Stores section you should see a Vault entry.
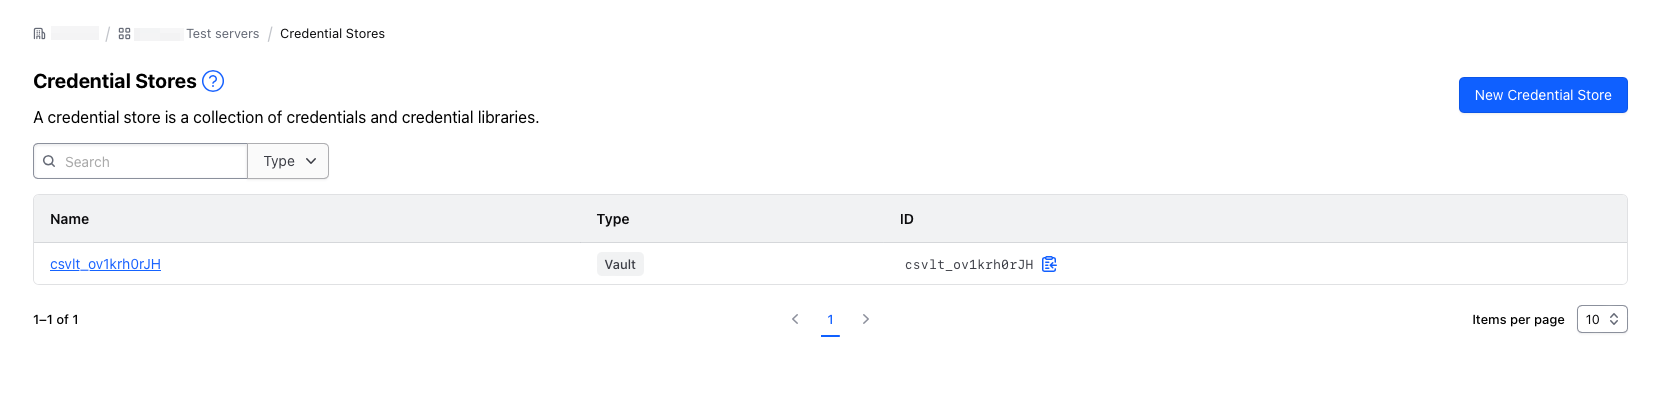
15. It’s important to know that you need to reconnect to Vault for every project you create. It’s also important to know that when Vault is restarted, the connection to Boundary will be broken. You’ll need to generate a new token and modify the one saved on the Boundary server side in each of the projects to which you’ve connected.
16. The first connection step between Boundary and Vault is now complete.
Vault OTP Configuration
We’re now going to configure Vault and your Ubuntu instance to allow the use of a one-time password for SSH connection.
1. Connect to your Vault server’s web interface and authenticate with the root token.
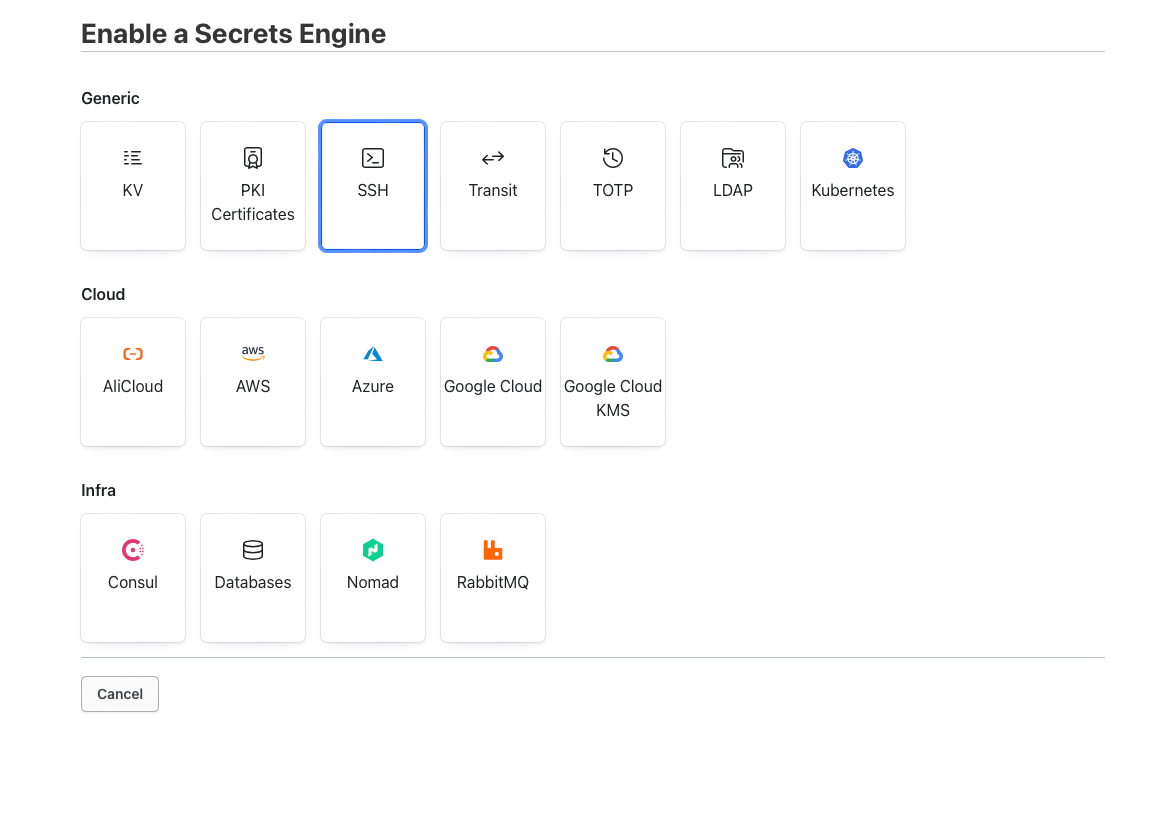
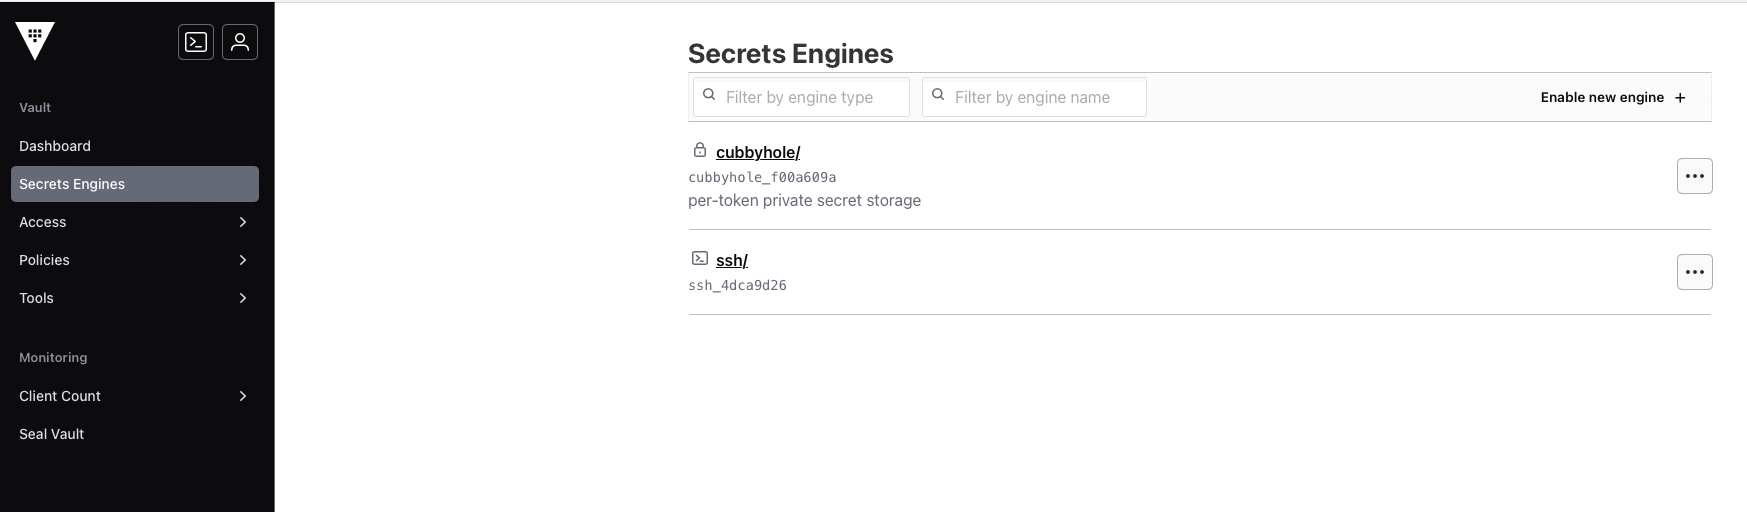
2. Go to the Secret Engines section and click on Enable new engine +
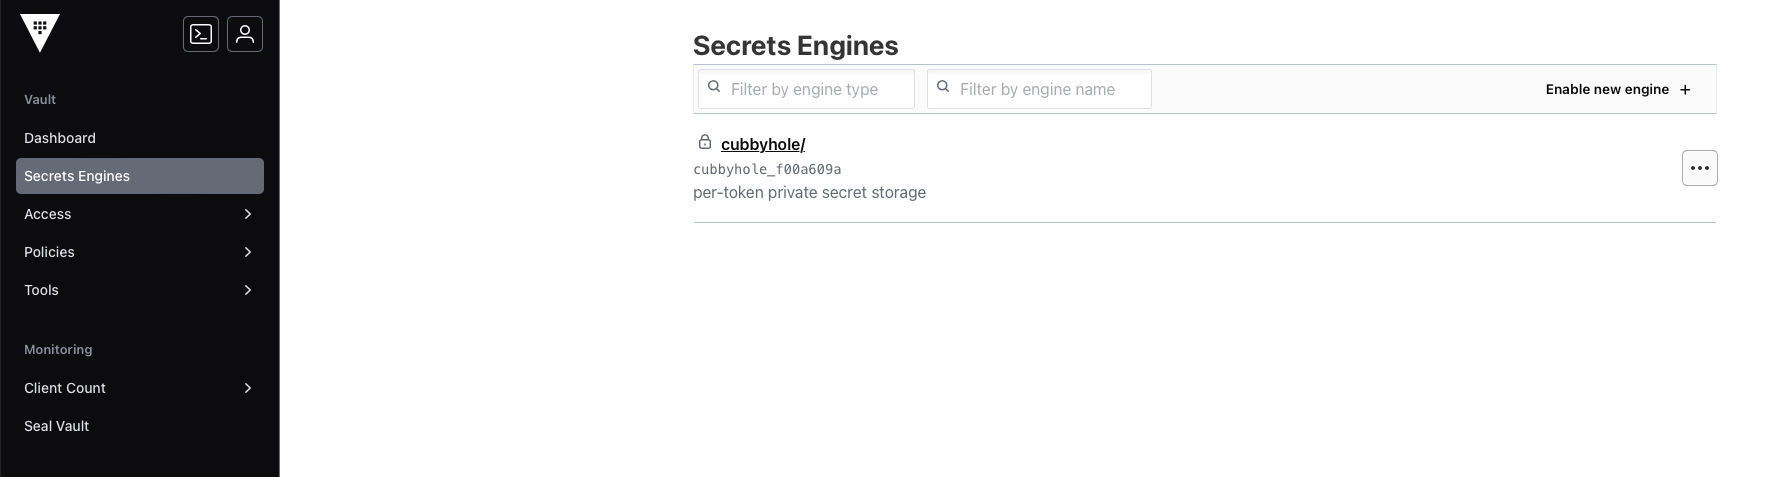
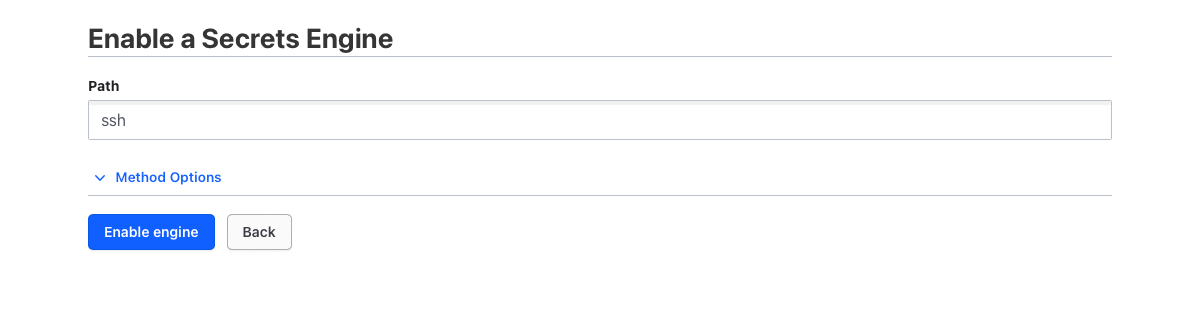
3. Select SSH and click on Enable engine.
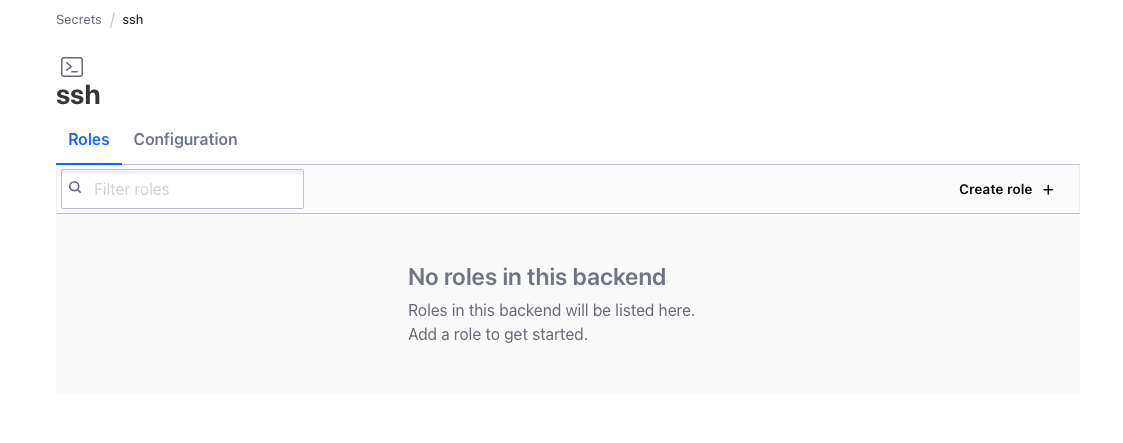
4. Then click on Create role +
5. Enter otp_key_role in the Role Name section, change the Key type section from ca to otp, enter ubuntu in the Default Username section and click on the Options button to display more options.
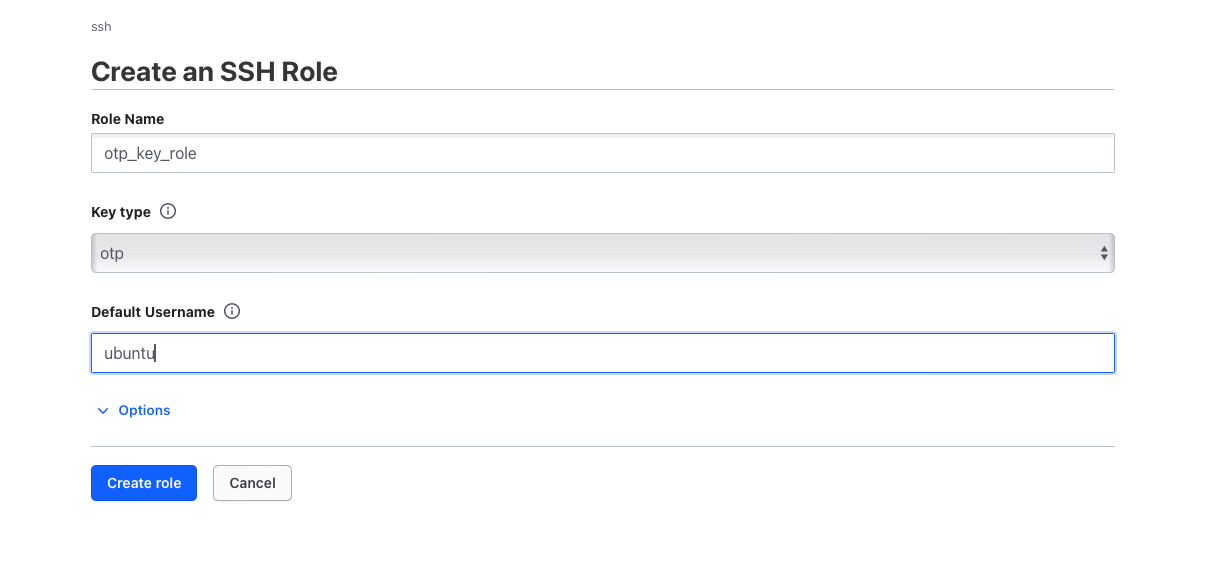
6. Add 0.0.0.0/0 in the CIDR List section and press Create role.
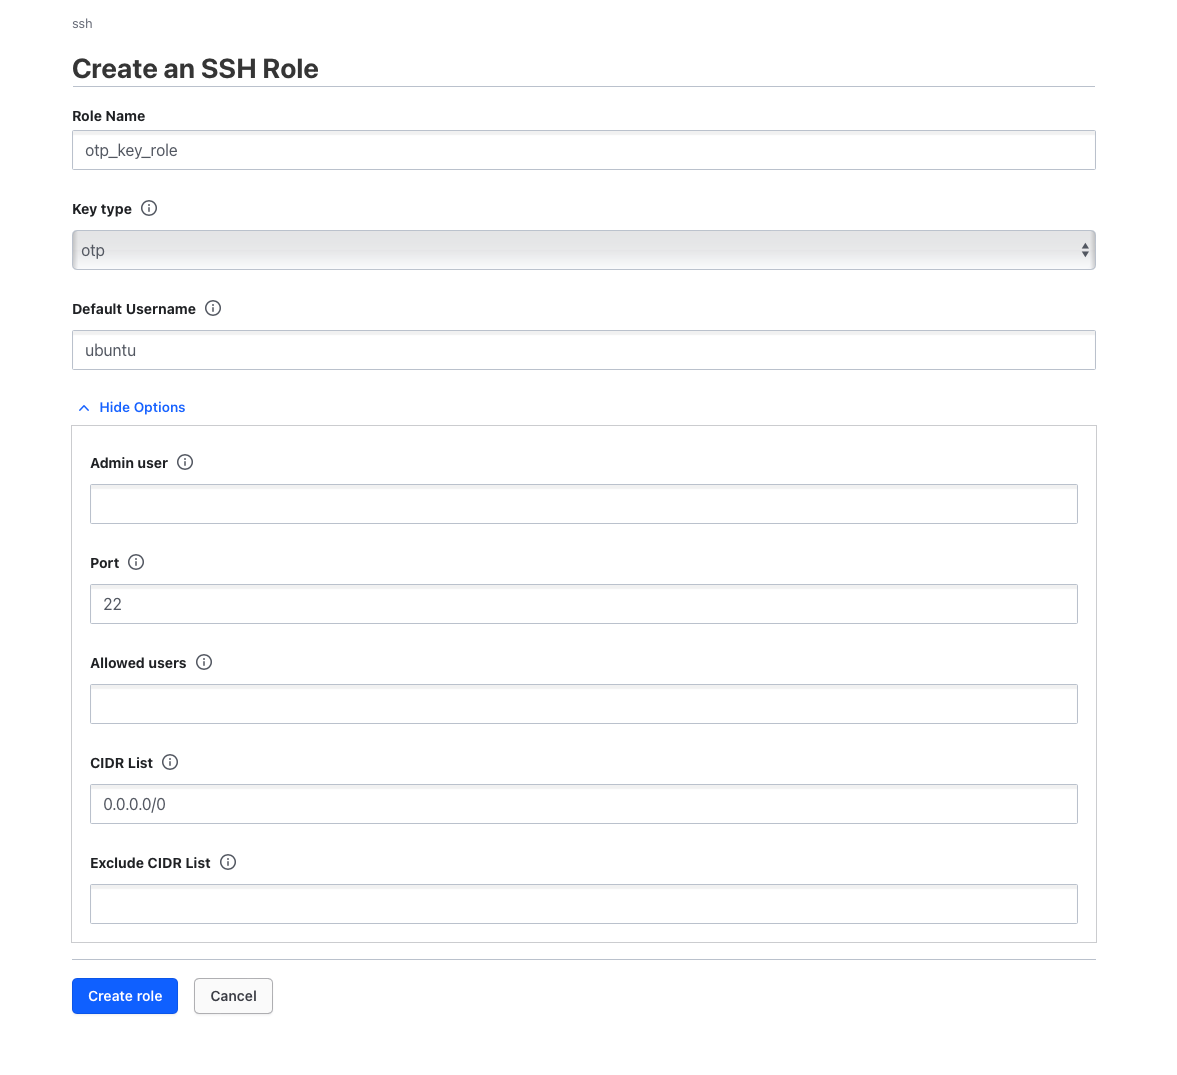
7. Vault server-side configuration is now complete.
Vault Dynamic RDP Configuration
To enable Vault to create an Active Directory account, we need to set up a few things and make sure that your Vault server is able to connect to your domain controller via ldaps.
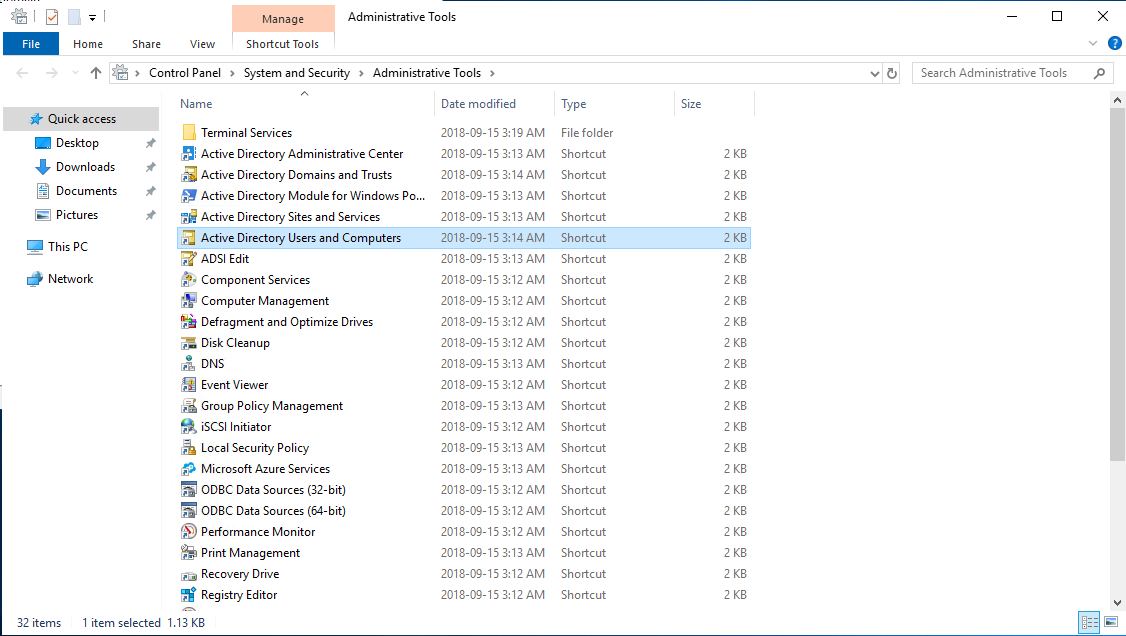
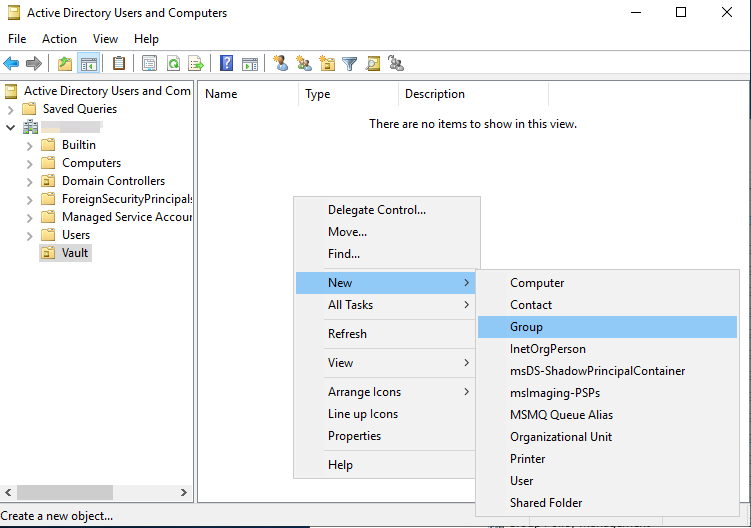
1. Connect to your Active Directory server.
2. Open Active Directory Users and Computers.
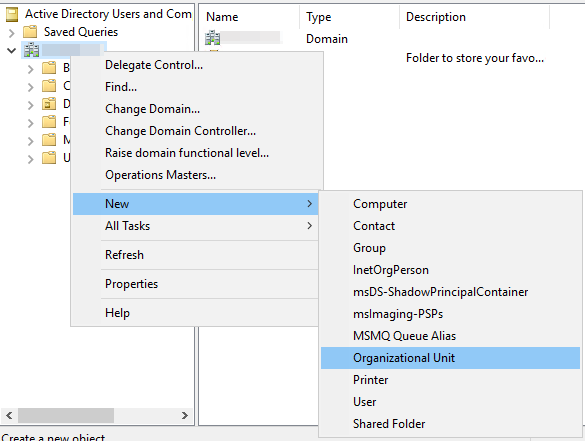
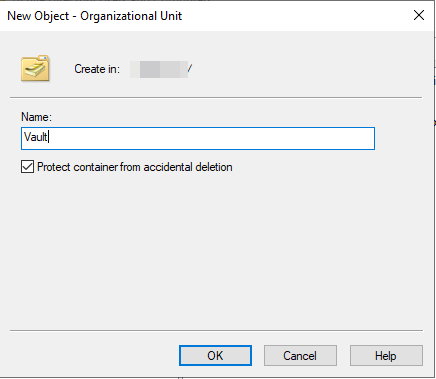
3. Create a new OU and name it Vault.
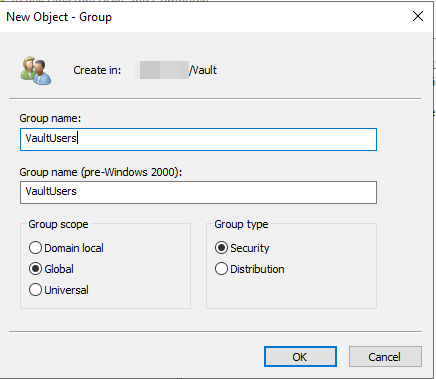
4. We’ll now create a VaultUsers security group within this new OU.
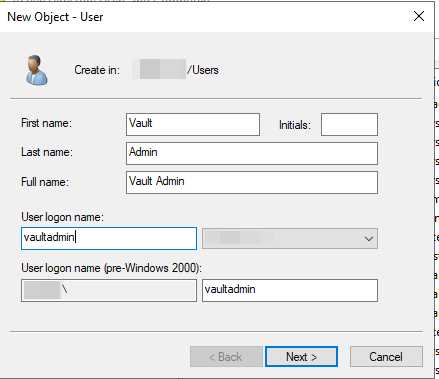
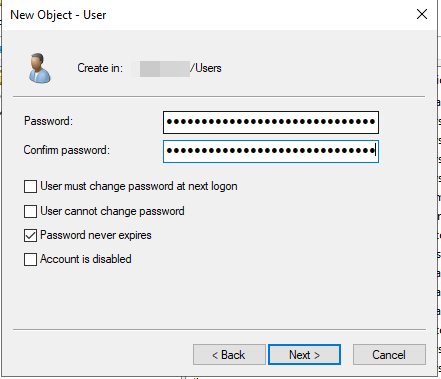
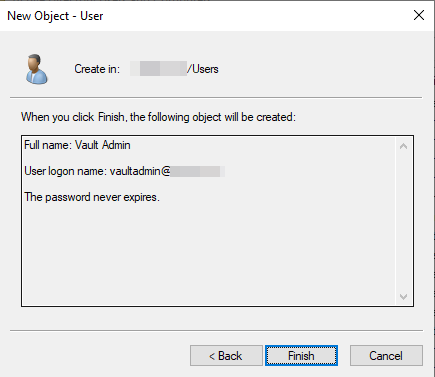
5. We’ll now create a VaultAdmin user who will eventually have the right to create accounts in this OU and add them to the VaultUsers group. Create this account outside this OU, either in Users or in another OU you use to manage your other accounts. In the following example I’ll check the option to make sure the password never expires, but I don’t recommend deploying this in production.
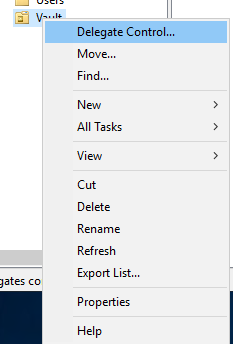
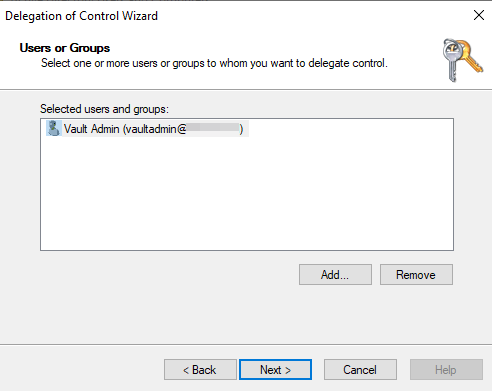
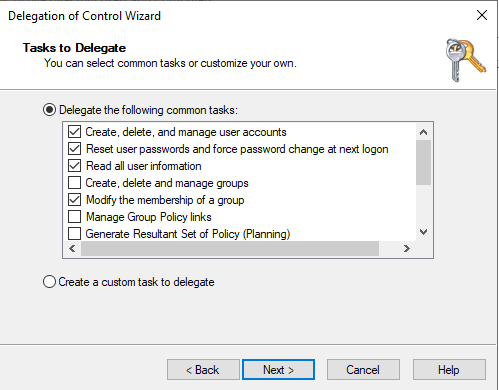
6. The next step is to ensure that the VaultAdmin account has the necessary rights to create users in the VautUsers OU. We’ll therefore create a delegation that allows VaultAdmin to at least create, delete, and manage an account, change the account password, read account information, and change group membership.
7. Log on to your Vault server’s web interface and authenticate with the root token.
8. Go to the Secret Engines section and click on Enable new engine +
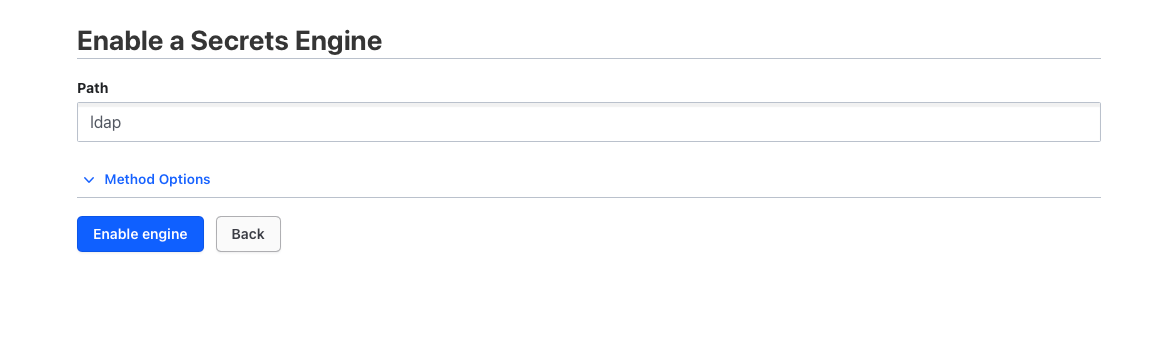
9. Select LDAP.
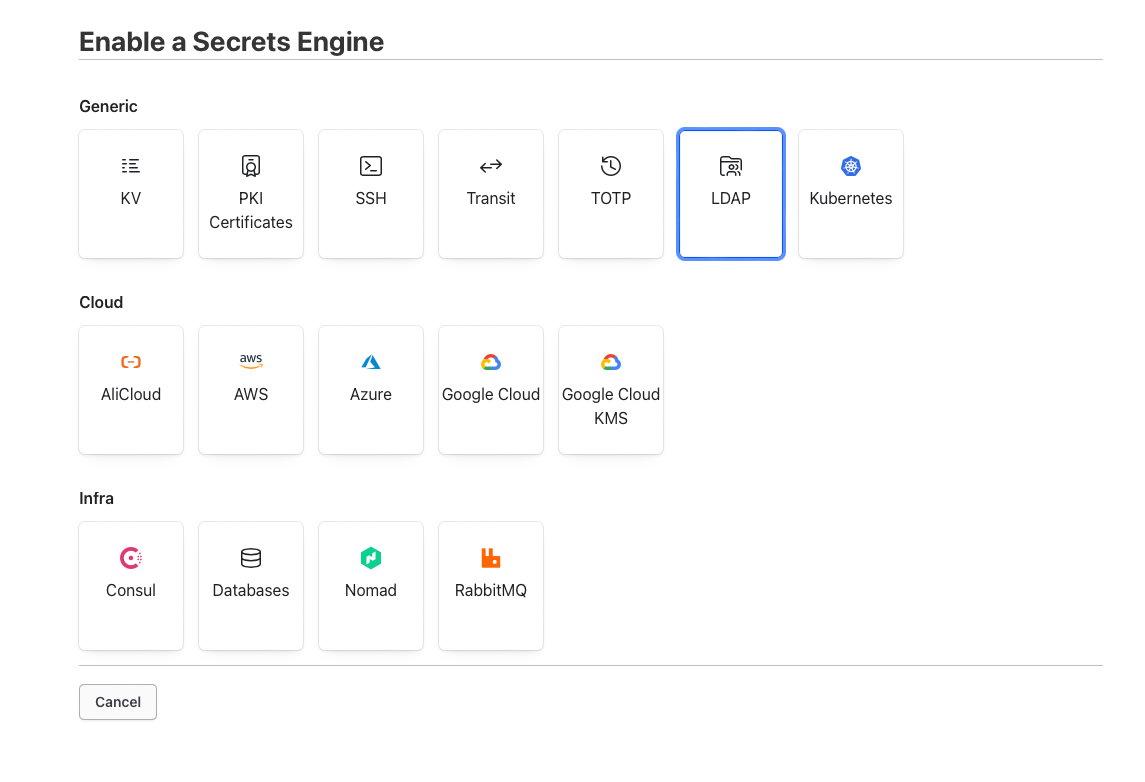
10. Click on Enable engine.
11. Now connect to your Vault server via SSH.
12. Once you’ve connected to your instance/server, you first need to store two variables: the url of your Vault server and the root token.
export VAULT_ADRR='https://UrlOfYourVaultServer:8200'
export VAULT_TOKEN='RootTokenFromJSONFile'
13. Enter your domain controller connection information. If you’re using a domain name that the Vault server can’t resolve (e.g. .local), be sure to add an entry in /etc/hosts before proceeding. In this case, we’re also going to use the insecure_tls option, but if you want to deploy this option in production, it would be preferable to import the SSL certificate used for the LDAPS connection from your Active Directory server to improve security.
vault write ldap/config binddn=VaultAdmin@YourdDomain.com bindpass=PasswordOfVaultAdmin url=ldaps://URLOfYourADServer schema=ad insecure_tls=true userdn='dc=YourDomain,dc=com'14. If you have entered the information correctly, you should receive the following message:
Success! Data written to: ldap/config15. Once the role has been created, you now need to create three configuration files.
16. The first file is called creation.ldif and should contain the following information (adjust according to your domain):
dn: CN={{.Username}},OU=Vault,DC=YourDomain,DC=com
changetype: add
objectClass: top
objectClass: person
objectClass: organizationalPerson
objectClass: user
userPrincipalName: {{.Username}}@YourDomain
sAMAccountName: {{.Username}}
dn: CN={{.Username}},OU=Vault,DC=YourDomain,DC=com
changetype: modify
replace: unicodePwd
unicodePwd::{{ printf "%q" .Password | utf16le | base64 }}
replace: userAccountControl
userAccountControl: 66048
dn: CN=VaultUsers,OU=Vault,DC=YourDomain,DC=com
changetype: modify
add: member
member: CN={{.Username}},OU=Vault,DC=YourDomain,DC=com
17. The second file is called delete.ldif and must contain the following information (adjust according to your domain):
dn: CN={{.Username}},OU=Vault,DC=YourDomain,dc=com
changetype: delete
18. The third file is called rollback.ldif and must have the following information (adjust according to your domain):
dn: CN={{.Username}},OU=Vault,DC=YourDomain,dc=com
changetype: delete
19. We can now create the Dynamic RDP role with the following command (make sure you mention the path of your three files). We’re going to specify an account deletion after eight hours, as this is the default maximum session time in Boundary Desktop, but you can adjust it to suit your needs.
vault write ldap/role/dynamic-role creation_ldif=@creation.ldif default_ttl=1h max_ttl=8h deletion_ldif=@deletion.ldif rollback_ldif=@rollback.ldif username_template="v_{{unix_time}}"20. If you have mentioned the correct file path, you should receive the following message:
Success! Data written to: ldap/role/dynamic-role21. The next step is to validate that the account creation actually works. You can use the following command to validate whether your configuration is working correctly:
vault read ldap/creds/dynamic-role22. If the configuration has been carried out correctly, you should receive information about an account which will have a default lifetime of one hour.

23. This completes the configuration of Vault with your domain controller for dynamic account creation.
Configuring Your Ubuntu Instance with vault-ssh-helper
In order to use Vault OTP, you need to ensure that your instance can connect to your Vault server via port 8200, and that you have vault-ssh-helper installed.
1. Connect via SSH to the Ubuntu instance you’ve deployed that’s connected in the same subnet as your Boundary server, or in a subnet that your Boundary server is able to connect to using the internal network (and not the public network).
2. Download the vault-ssh-helper software using the following command:
wget https://releases.hashicorp.com/vault-ssh-helper/0.2.1/vault-ssh-helper_0.2.1_linux_amd64.zip3. Install vault-ssh-helper in the /usr/local/bin directory:
sudo unzip -q vault-ssh-helper_0.2.1_linux_amd64.zip -d /usr/local/bin4. Make sure vault-ssh-helper is executable:
sudo chmod 0755 /usr/local/bin/vault-ssh-helper5. Make sure root is the only owner:
sudo chown root:root /usr/local/bin/vault-ssh-helper6. Create a folder to store the configuration file:
sudo mkdir /etc/vault-ssh-helper.d7. Create the configuration file:
sudo vi /etc/vault-ssh-helper.d/config.hcl8. Add the following information to the file:
vault_addr = "https://URlOfYourVaultServer:8200"
ssh_mount_point = "ssh"
ca_cert = "/opt/ssl/cacert.pem"
tls_skip_verify = false
allowed_roles = "*"
9. Create a folder to store a root certificate to validate the certificate installed on your Vault server:
sudo mkdir /opt/ssl10. If you’re using a certificate from a recognized certification authority, you can use a certificate that groups together all the root certificates of the main SSL certificate providers by retrieving this one, for example, and placing it in the folder created in the previous step.
wget https://curl.se/ca/cacert.pem
sudo cp cacert.pem /opt/ssl/
11. Modifying the pam.d file:
sudo vi /etc/pam.d/sshd12. Be sure to comment out the include common-auth section and add the following lines underneath before saving:
#@include common-auth
auth requisite pam_exec.so quiet expose_authtok log=/tmp/vaultssh.log /usr/local/bin/vault-ssh-helper -config=/etc/vault-ssh-helper.d/config.hcl
auth optional pam_unix.so not_set_pass use_first_pass nodelay
13. Now edit the sshd_config file:
sudo vi /etc/ssh/sshd_config14. Make sure the following two sections are enabled and save the file:
KbdInteractiveAuthentication yes
UsePAM yes
15. Restart the sshd service:
sudo systemctl restart sshd16. Your instance is now configured with vault-ssh-helper.
Installing Boundary Desktop on Your Workstation
In order to run the connection tests, you need to make sure that Boundary Desktop is installed on your workstation.
You can download the installation files for your operating system from the following link: Boundary-Desktop Versions | HashiCorp Releases
Boundary Desktop is available for Windows, macOS and Linux.
At the time of writing, the latest version was 2.0.3
To download the Windows version: https://releases.hashicorp.com/boundary-desktop/2.0.3/boundary-desktop_2.0.3_windows_amd64.zip
To download the macOS version for Apple Silicon processors: https://releases.hashicorp.com/boundary-desktop/2.0.3/boundary-desktop_2.0.3_darwin_arm64.dmg
To download the macOS version for Intel processors: https://releases.hashicorp.com/boundary-desktop/2.0.3/boundary-desktop_2.0.3_darwin_amd64.dmg
To recover the Ubuntu version: https://releases.hashicorp.com/boundary-desktop/2.0.3/boundary-desktop_2.0.3_amd64.deb
To recover the version for other Linux operating systems: https://releases.hashicorp.com/boundary-desktop/2.0.3/boundary-desktop_2.0.3_linux_amd64.zip