Server Configuration for a Zero Trust Solution
Steps for configuring servers in a Zero Trust solution
Here are the steps for configuring the Zero Trust solution:
Boundary Server at AWS
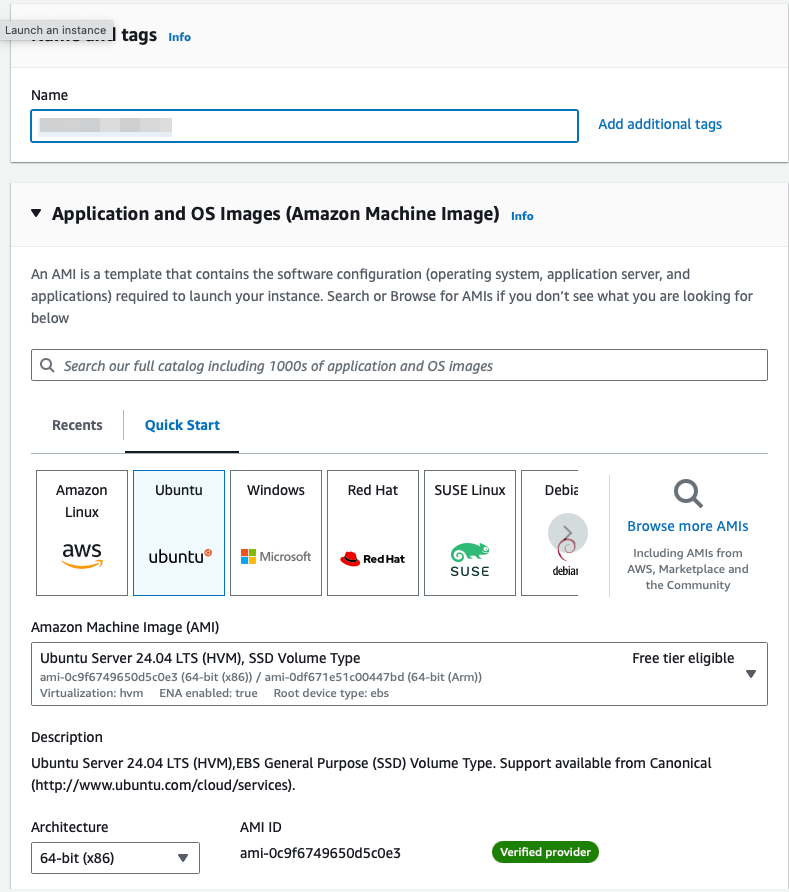
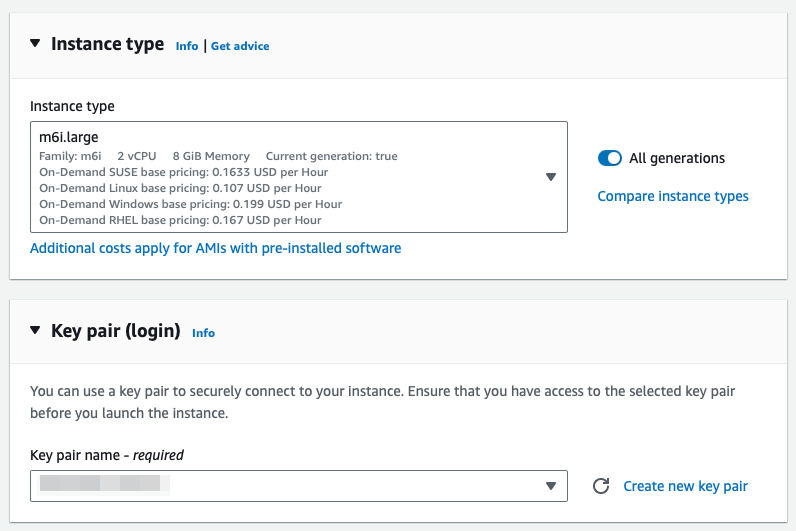
1. Deploy an Ubuntu Server 24.04 LTS instance according to HashiCorp’s recommendations.
In the following example, we’ll be deploying an m6i.large instance, which meets the requirements of a small-scale deployment. If you’re deploying on Azure or GCP, the recommended instance types are also mentioned in the link.
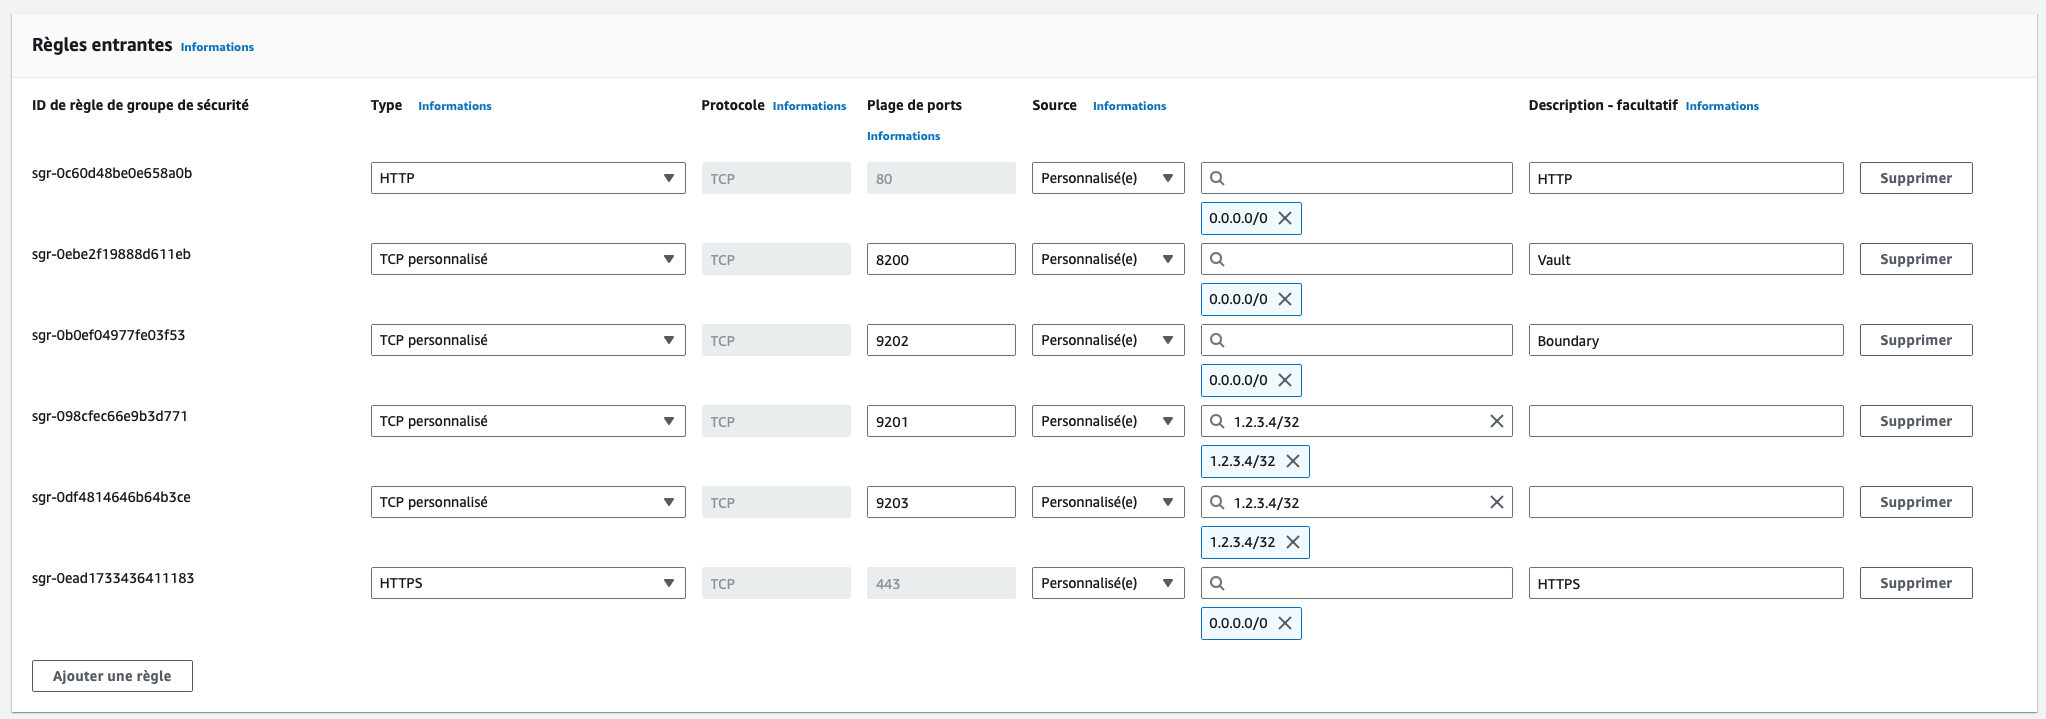
2. Make sure that the security group associated with the instance has ports 80 (http), 443 (https), 8200 (Vault) and 9202 (Boundary Worker) open for all IPs, as well as 9201 and 9203 (Remote Boundary Worker) at your office IP address, and of course that you have SSH access to the instance from your workstation only.
3. Assign a static IP (Elastic IP address at AWS) and create a DNS entry at your registrar to use a domain name to connect to the instance.

4. Connect to the instance via SSH once deployed to start software installation.
Install Boundary Controller and Worker on AWS Instance
5. The Boundary controller requires Postgres SQL, so start by installing it:
sudo apt install postgresql postgresql-contrib
sudo systemctl start postgresql.service
sudo systemctl enable postgresql.service
6. You then need to create a boundary database and a user to connect to it. Since Postgres version 15, you also need to add an additional permission to be able to create tables in the newly created database.
sudo -i -u postgres
psql
create database boundarydb;
create user boundary with password 'password';
grant all privileges on database boundarydb to boundary;
\c boundarydb;
GRANT ALL ON SCHEMA public TO boundary;
exit
exit
7. We can now move on to the Boundary installation stage. Here’s the procedure for Ubuntu, but Boundary is also available for macOS, Windows and several Linux variants.
wget -O- https://apt.releases.hashicorp.com/gpg | sudo gpg --dearmor -o /usr/share/keyrings/hashicorp-archive-keyring.gpg
echo "deb [signed-by=/usr/share/keyrings/hashicorp-archive-keyring.gpg] https://apt.releases.hashicorp.com $(lsb_release -cs) main" | sudo tee /etc/apt/sources.list.d/hashicorp.list
sudo apt update && sudo apt install boundary
8. Then create a controller.hcl file in the Boundary folder.
sudo vi /etc/boundary.d/controller.hcl9. And insert the necessary information. Here’s an example file. At the very least, you need to adjust the database url section if you’ve used a user or password other than those mentioned above, as well as the domain name or public IP address of your Boundary server in the public_cluster_addr section.
# Disable memory lock: https://www.man7.org/linux/man-pages/man2/mlock.2.html
disable_mlock = true

# Controller configuration block
controller {
  # This name attr must be unique across all controller instances if running in HA mode
  name = "controller-1"
  public_cluster_addr="boundary.yourdomain.com"
  description = "First controller"

  # After receiving a shutdown signal, Boundary will wait 10s before initiating the shutdown process.
  graceful_shutdown_wait_duration = "10s"

  # Database URL for postgres. This can be a direct "postgres://"
  # URL, or it can be "file://" to read the contents of a file to
  # supply the url, or "env://" to name an environment variable
  # that contains the URL.
  database {
      url = "postgresql://boundary:password@127.0.0.1:5432/boundarydb"
  }
}

# API listener configuration block
listener "tcp" {
  # Should be the address of the NIC that the controller server will be reached on
  address = "0.0.0.0"
  # The purpose of this listener block
  purpose = "api"

  tls_disable = true

  # Uncomment to enable CORS for the Admin UI. Be sure to set the allowed origin(s)
  # to appropriate values.
  #cors_enabled = true
  #cors_allowed_origins = ["https://yourcorp.yourdomain.com", "serve://boundary"]
}

# Data-plane listener configuration block (used for worker coordination)
listener "tcp" {
  # Should be the IP of the NIC that the worker will connect on
  address = "0.0.0.0:9201"
  # The purpose of this listener
  purpose = "cluster"
}

listener "tcp" {
  # Should be the address of the NIC where your external systems'
  # (eg: Load-Balancer) will connect on.
  address = "0.0.0.0:9203"
  # The purpose of this listener block
  purpose = "ops"

  tls_disable = true
}

# Root KMS configuration block: this is the root key for Boundary
# Use a production KMS such as AWS KMS in production installs
kms "aead" {
  purpose = "root"
  aead_type = "aes-gcm"
  key = "XXXXXXXXXXXXXXXXXXXXXXXXXXXXX"
  key_id = "global_root"
}

# Worker authorization KMS
# Use a production KMS such as AWS KMS for production installs
# This key is the same key used in the worker configuration
kms "aead" {
  purpose = "worker-auth"
  aead_type = "aes-gcm"
  key = "XXXXXXXXXXXXXXXXXXXXXXXXXXXXX"
  key_id = "global_worker-auth"
}

# Recovery KMS block: configures the recovery key for Boundary
# Use a production KMS such as AWS KMS for production installs
kms "aead" {
  purpose = "recovery"
  aead_type = "aes-gcm"
  key = "XXXXXXXXXXXXXXXXXXXXXXXXXXXX"
  key_id = "global_recovery"
}
10. As we will also be using this server as a Worker, we also need to create a worker file or modify the existing one.
sudo vi /etc/boundary.d/worker.hcl11. Make sure that the following information is correctly configured. Be sure to enter the DNS you’ve created in the public_addr section, and to include information in the tags section that will allow you to differentiate between different workers.
# # Note that this is an example systemd file and is not intended to be functional as-is.
# # Full configuration options can be found at https://www.boundaryproject.io/docs/configuration/worker

 listener "tcp" {
     purpose = "proxy"
     tls_disable = true
     address = "0.0.0.0"
 }

worker {
#   # Name attr must be unique across workers
   name = "worker-aws"
#   description = "A default worker created demonstration"

#   # Workers must be able to reach controllers on :9201
   controllers = [
     "127.0.0.1",
#     "10.0.0.2",
#     "10.0.0.3",
   ]

   public_addr = "worker-aws.yourdomain.com"

   tags {
     type   = ["prod", "aws"]
     region = ["ca-central-1"]
   }
 }

# # must be same key as used on controller config#
 kms "aead" {
     purpose = "worker-auth"
     aead_type = "aes-gcm"
     key = "XXXXXXXXXXXXXXXXXXXXXXXXXXXXXXXXXX"
     key_id = "global_worker-auth"
 }
12. The first time we start the controller, we need to initialize the database. This will create an account that allows access to the web interface. Enter the following command and be sure to take note of the information displayed:
sudo boundary database init -config /etc/boundary.d/controller.hcl13. Now we need to start the controller and the worker. If you don’t want to have to restart them every time the server is restarted, you can create services. Here’s how to create the controller:
sudo vi /etc/systemd/system/boundarycontroller.service14. Enter the following information in the file:
[Unit]
Description=Boundary Controller

[Service]
Type=simple
User=root
ExecStart=/usr/bin/boundary server -config=/etc/boundary.d/controller.hcl
Restart=always

[Install]
WantedBy=multi-user.target
15. We need to create a second one for the worker.
sudo vi /etc/systemd/system/boundaryworker.service16. Enter the following information in the file :
[Unit]
Description=Boundary Worker

[Service]
Type=simple
User=root
ExecStart=/usr/bin/boundary server -config=/etc/boundary.d/worker.hcl
Restart=always

[Install]
WantedBy=multi-user.target
17. All that remains is to start them up and activate them on reboot.
sudo systemctl start boundarycontroller
sudo systemctl status boundarycontroller
sudo systemctl enable boundarycontroller
sudo systemctl start boundaryworker
sudo systemctl status boundaryworker
sudo systemctl enable boundaryworker
18. Boundary uses its own port, but if we want to secure the connection with an SSL certificate, it’s possible to deploy a web server in front of it. To do this, we’ll use Apache combined with Certbot to generate a free SSL certificate, but it would also be possible to use Nginx with a purchased certificate as well.
sudo apt install apache2
sudo a2enmod proxy_http
sudo apt install certbot python3-certbot-apache
19. Once Apache has been installed, the default configuration file must be modified or a new one created before the SSL certificate can be installed and connected to Boundary.
sudo vi /etc/apache2/sites-enabled/000-default.conf20. Be sure to modify the ServerName section to reflect your domain name and to replace/deactivate the DocumentRoot section with the Proxy values.
<VirtualHost *:80>
        # The ServerName directive sets the request scheme, hostname and port that
        # the server uses to identify itself. This is used when creating
        # redirection URLs. In the context of virtual hosts, the ServerName
        # specifies what hostname must appear in the request's Host: header to
        # match this virtual host. For the default virtual host (this file) this
        # value is not decisive as it is used as a last resort host regardless.
        # However, you must set it for any further virtual host explicitly.
        #ServerName www.example.com
ProxyPreserveHost On
ProxyRequests Off
ServerName boundary.yourdomain.com
ProxyPass / http://localhost:9200/
ProxyPassReverse / http://localhost:9200/
#       ServerAdmin webmaster@localhost
#       DocumentRoot /var/www/html

        # Available loglevels: trace8, ..., trace1, debug, info, notice, warn,
        # error, crit, alert, emerg.
        # It is also possible to configure the loglevel for particular
        # modules, e.g.
        #LogLevel info ssl:warn

        ErrorLog ${APACHE_LOG_DIR}/error.log
        CustomLog ${APACHE_LOG_DIR}/access.log combined

        # For most configuration files from conf-available/, which are
        # enabled or disabled at a global level, it is possible to
        # include a line for only one particular virtual host. For example the
        # following line enables the CGI configuration for this host only
        # after it has been globally disabled with "a2disconf".
        #Include conf-available/serve-cgi-bin.conf
</VirtualHost>

# vim: syntax=apache ts=4 sw=4 sts=4 sr noet
21. Now all that’s left to do is restart apache and generate the SSL certificate:
sudo systemctl restart apache2
sudo certbot --apache
22. Once you’ve answered the various questions, you should have a generated SSL certificate.
23. Now it’s time to validate that your Boundary installation is up and running before moving on to the next step. Use your web browser to connect to the domain name you used to generate the SSL certificate. If the SSL certificate installation has been completed successfully, you should now have access to the Boundary page, which asks you to identify yourself.
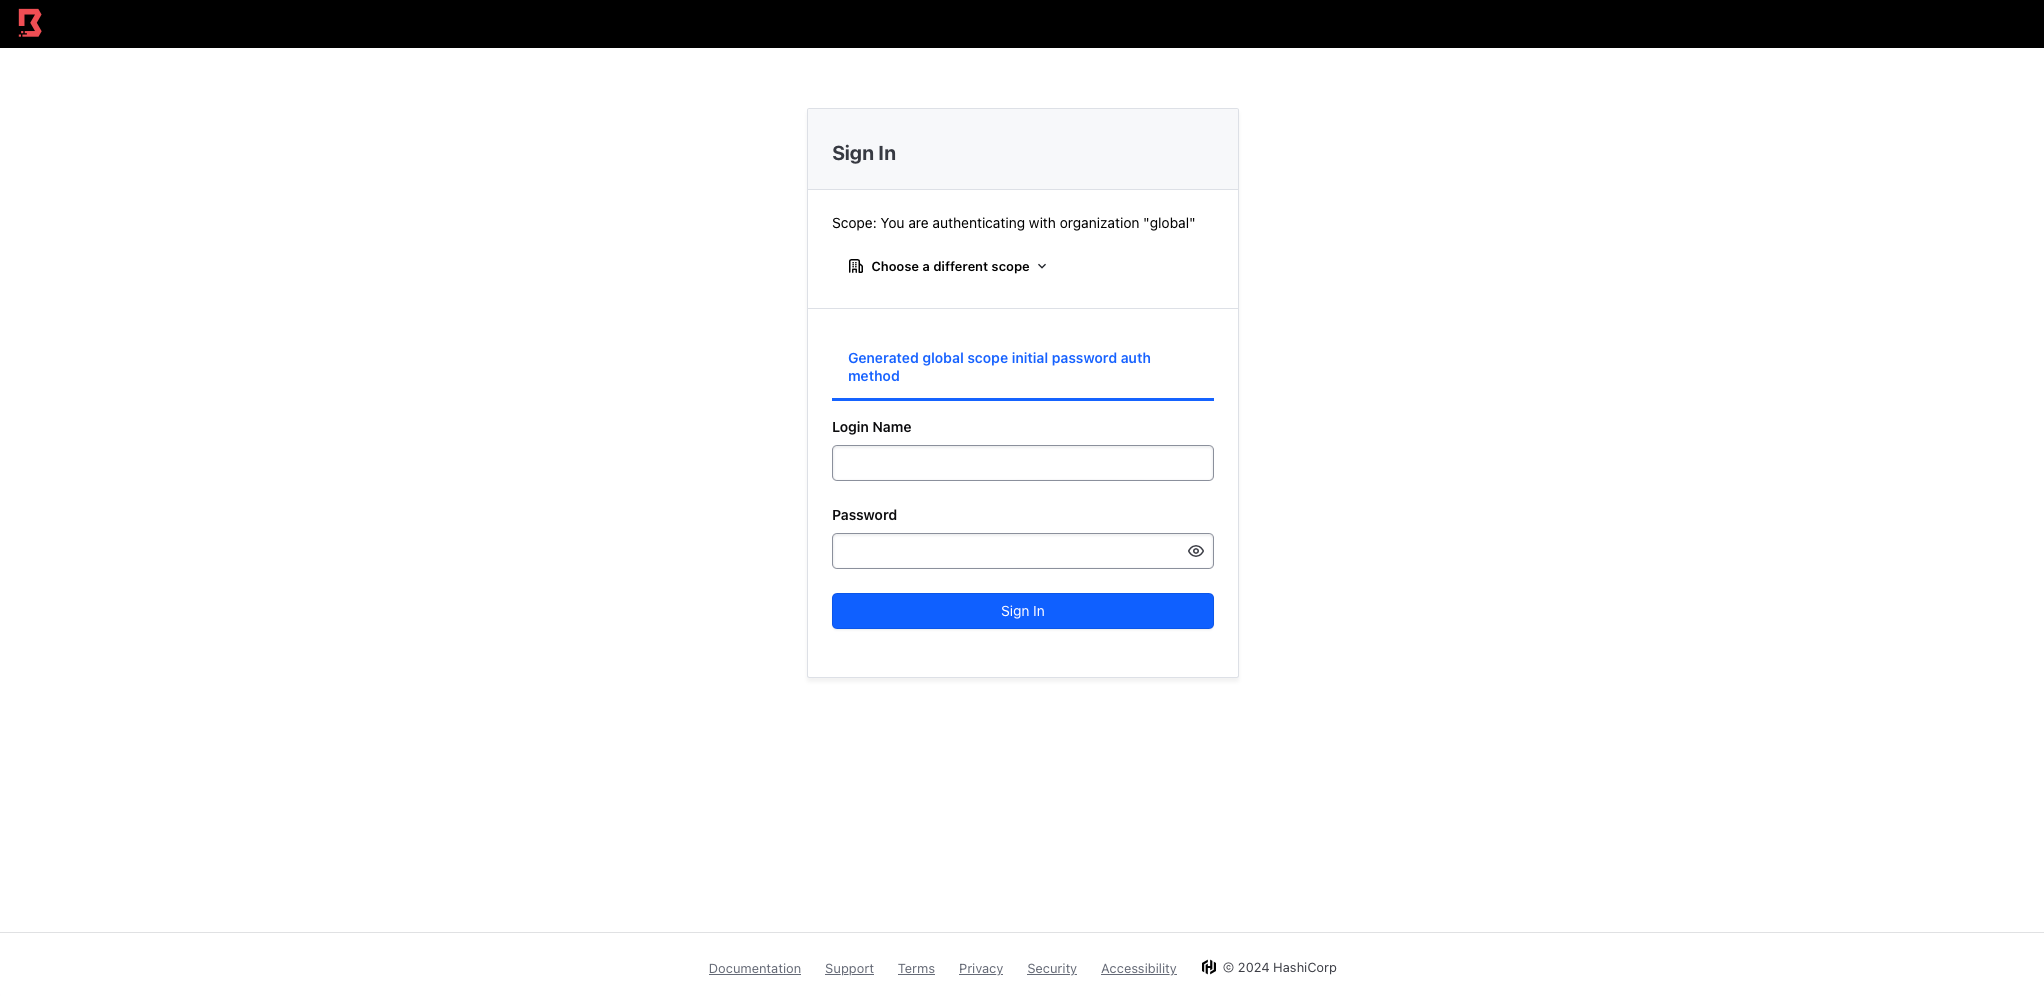
24. Log in using the admin account created during the database initiation stage.
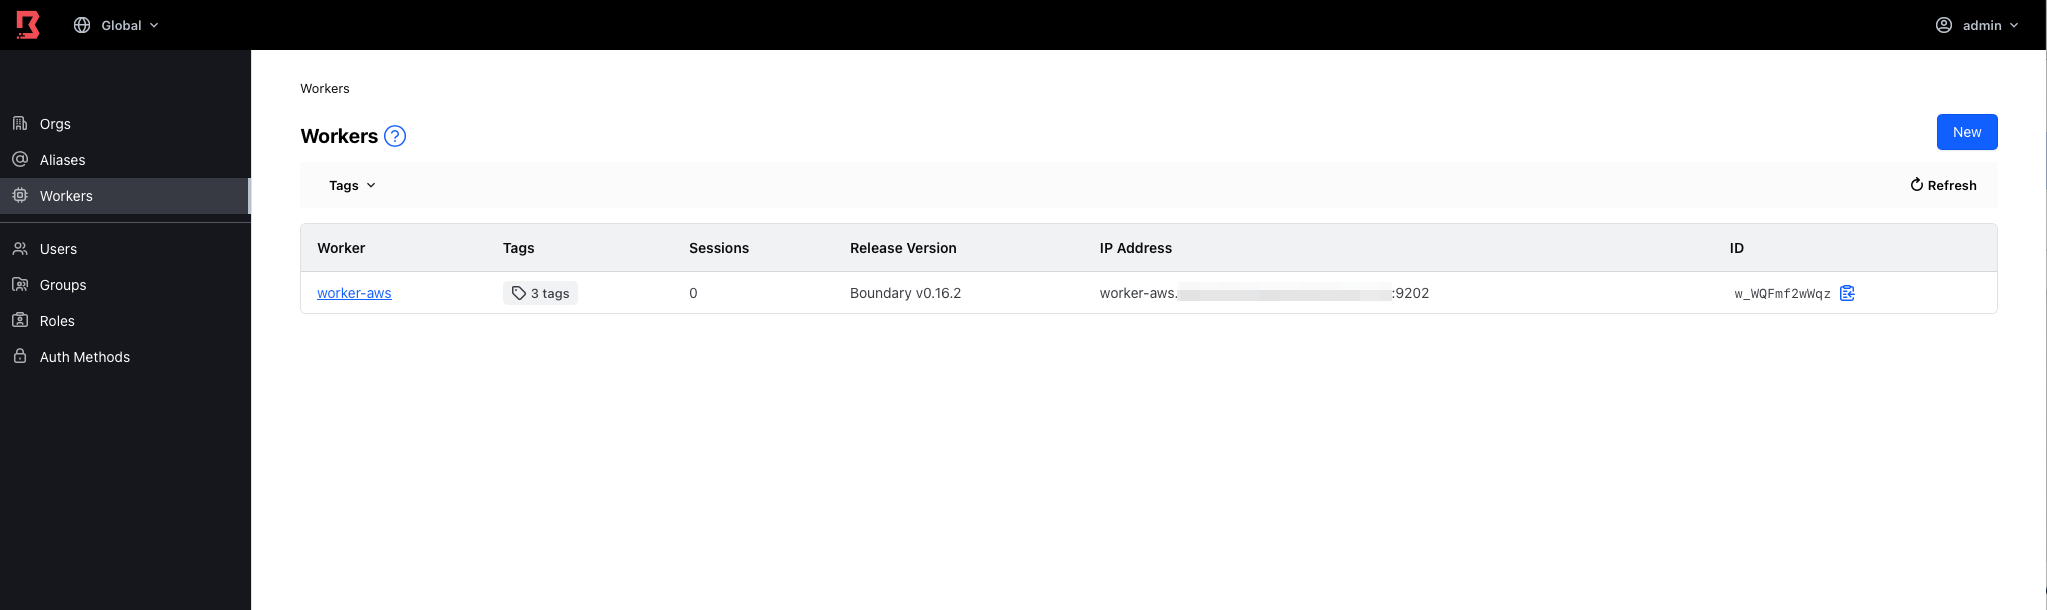
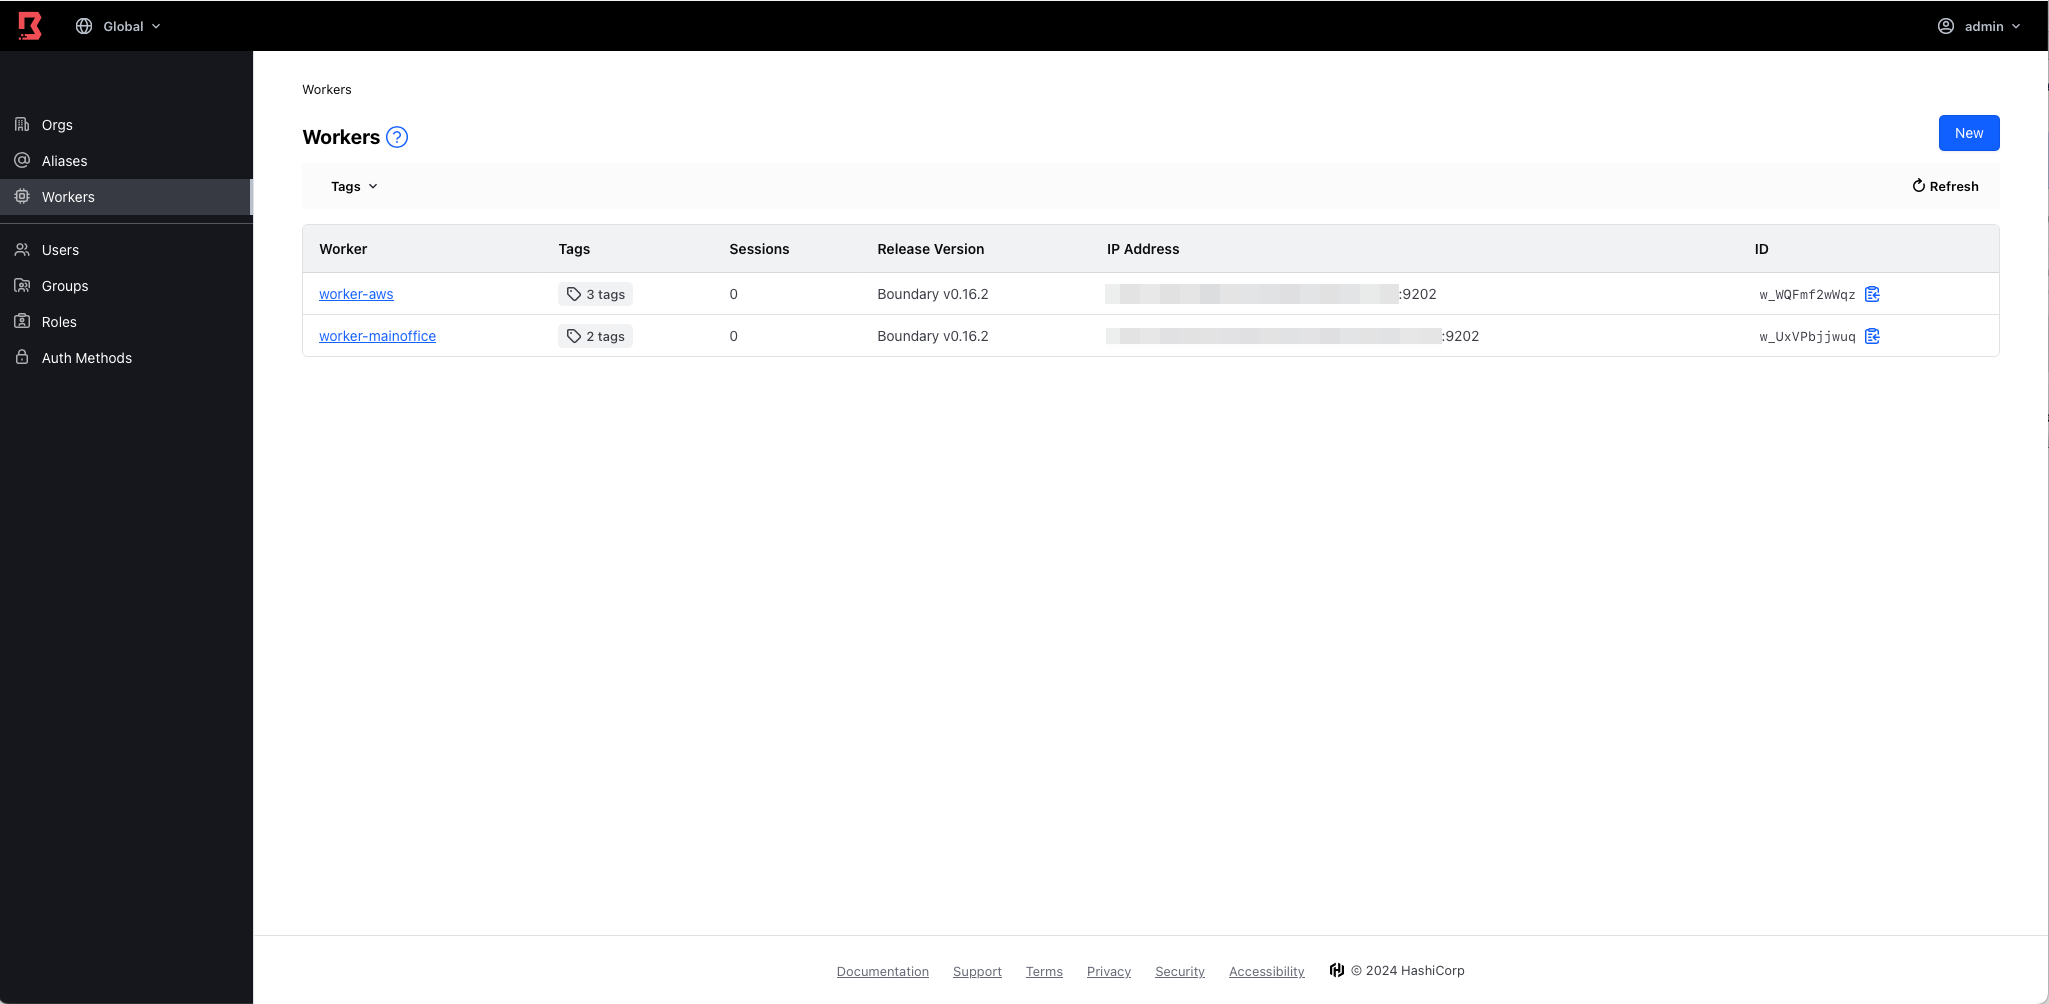
25. When the database was created, Boundary created an organization by default. You can delete it and create a new one later. For now, make sure your worker is connected by clicking on the “Workers” section.
Installing Boundary Worker on a Hyper-V Virtual Machine
We’ll assume that you already have a physical server running Windows Server 2019 and the Hyper-V role. This server is configured inside your company network. It would be possible to do the same deployment with another hypervisor, regardless of whether it’s type 1 or type 2, as long as it’s on a different network from your Boundary controller.
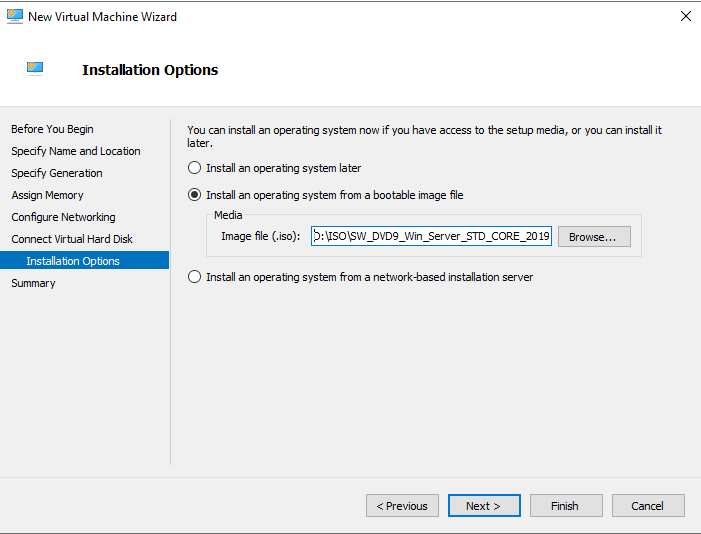
1. Retrieve the Ubuntu Server 24.04 LTS installation file if you don’t already have it on your physical server.
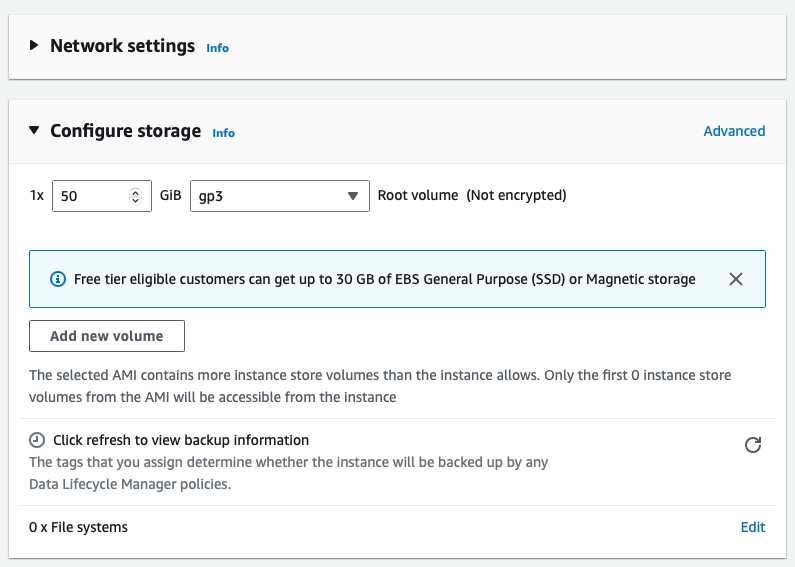
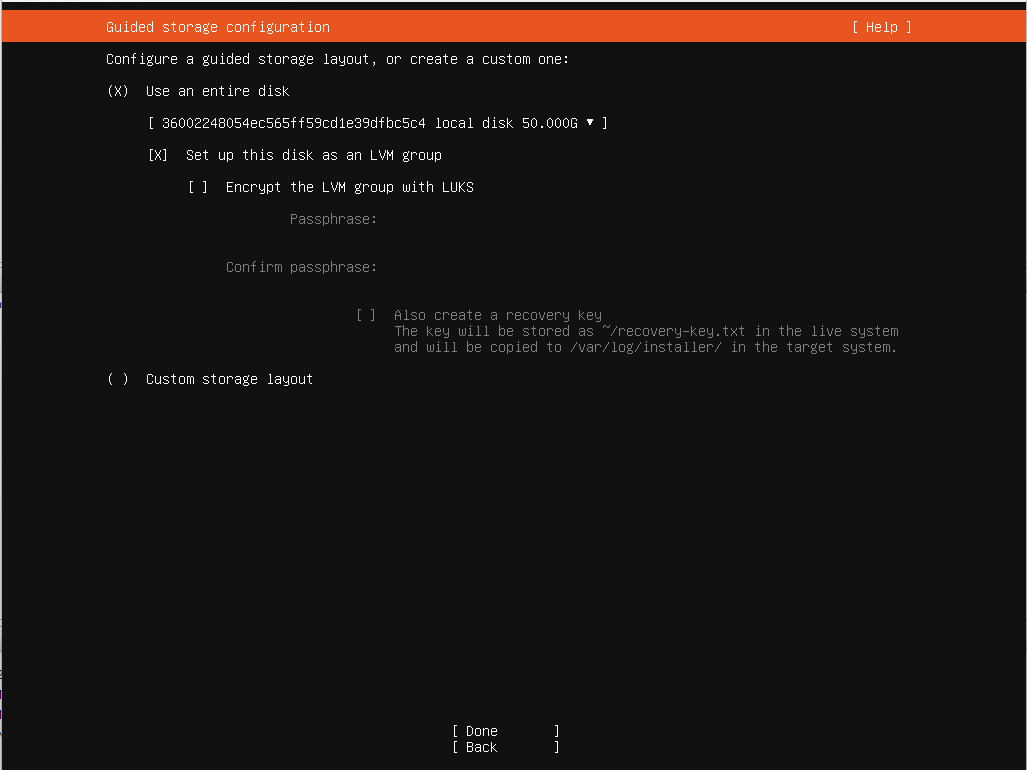
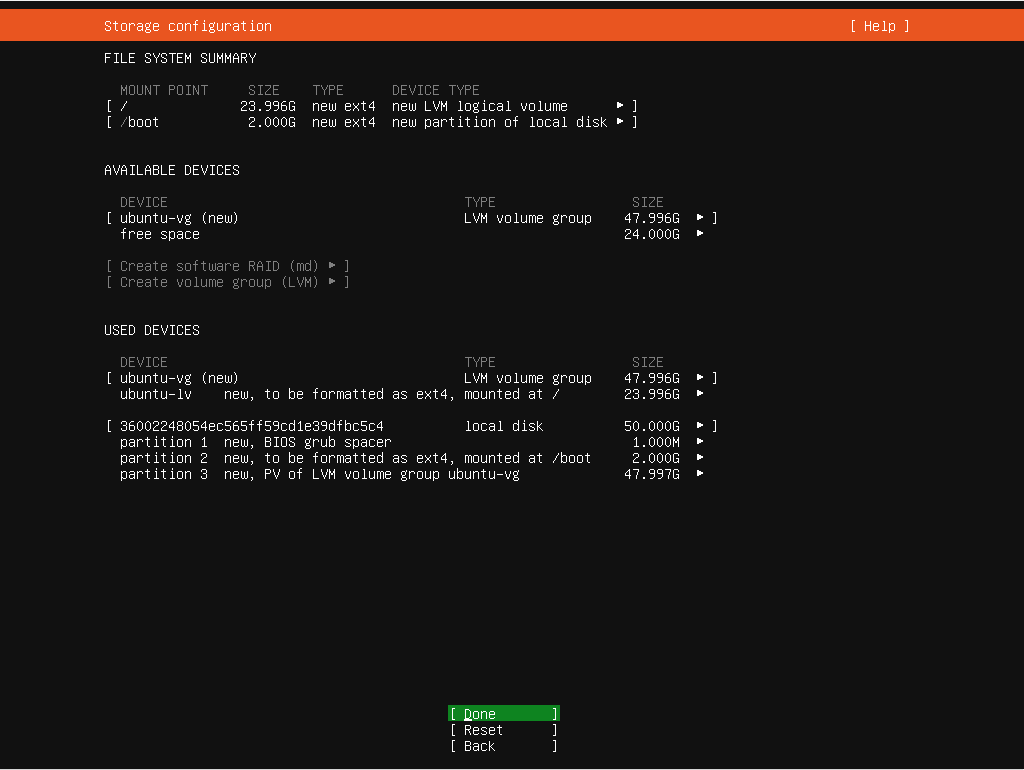
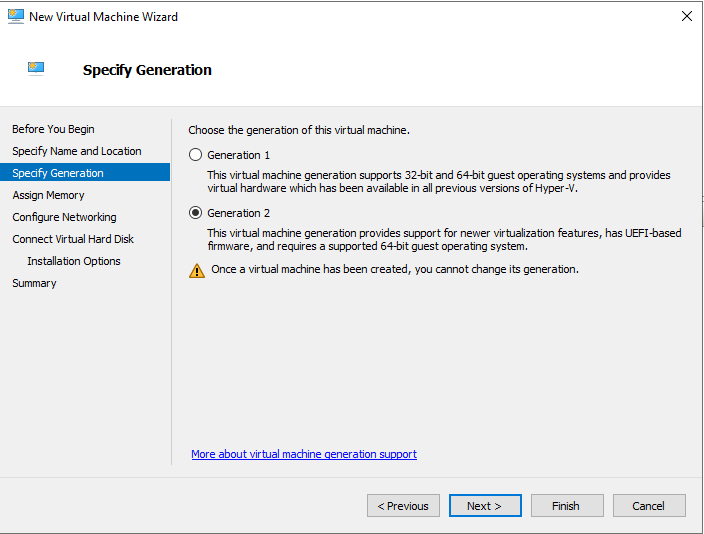
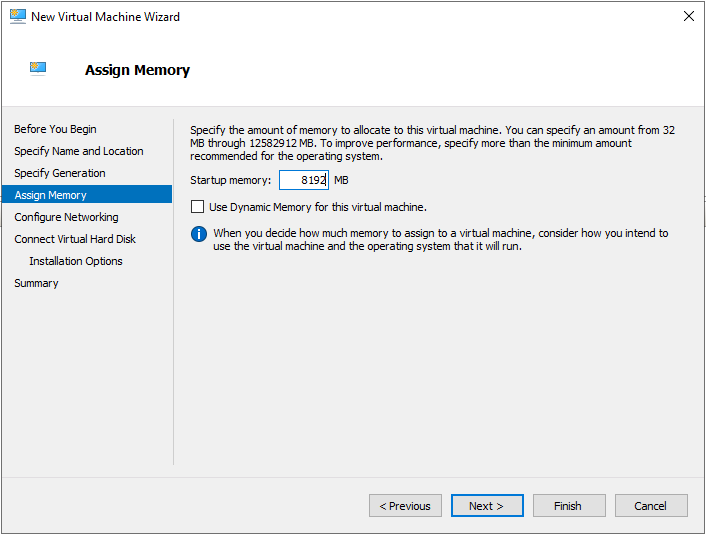
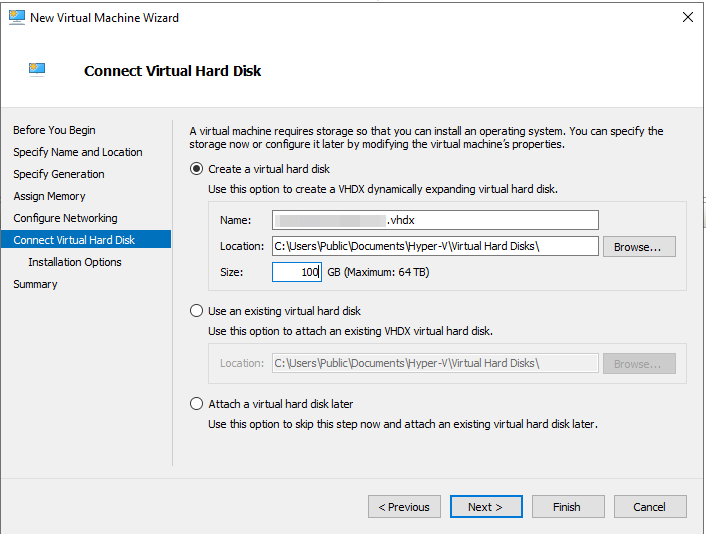
2. Create a new virtual machine with at least a 2-core processor, 8 GB of memory and 50 GB of disk space.
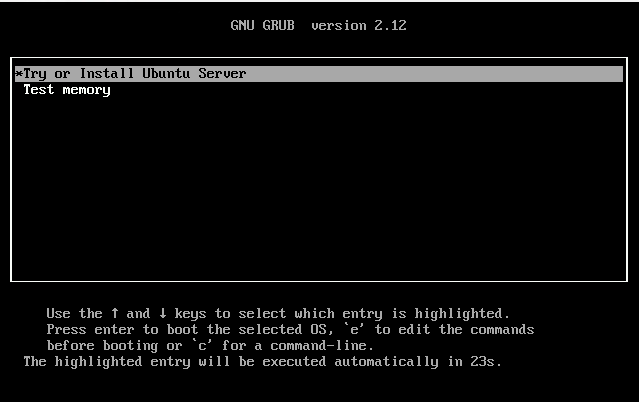
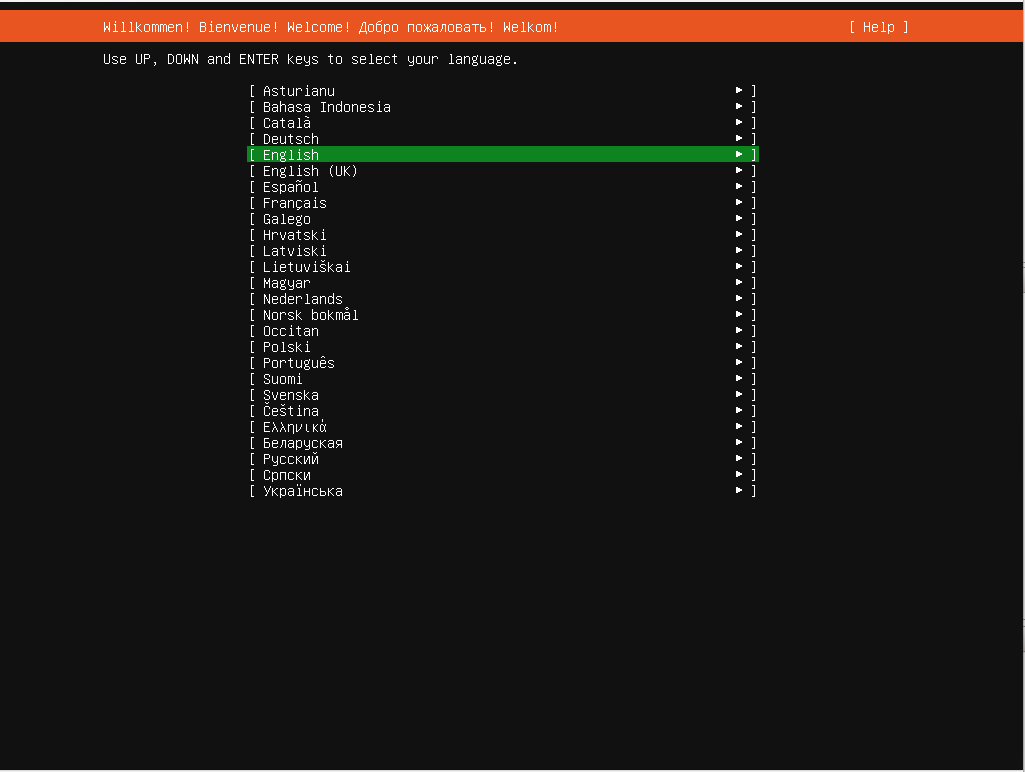
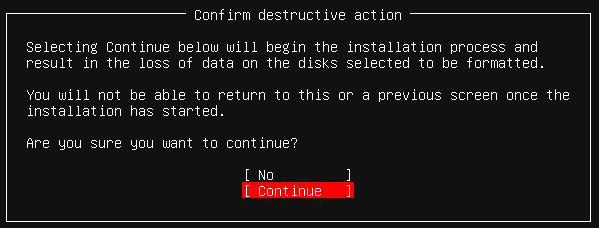
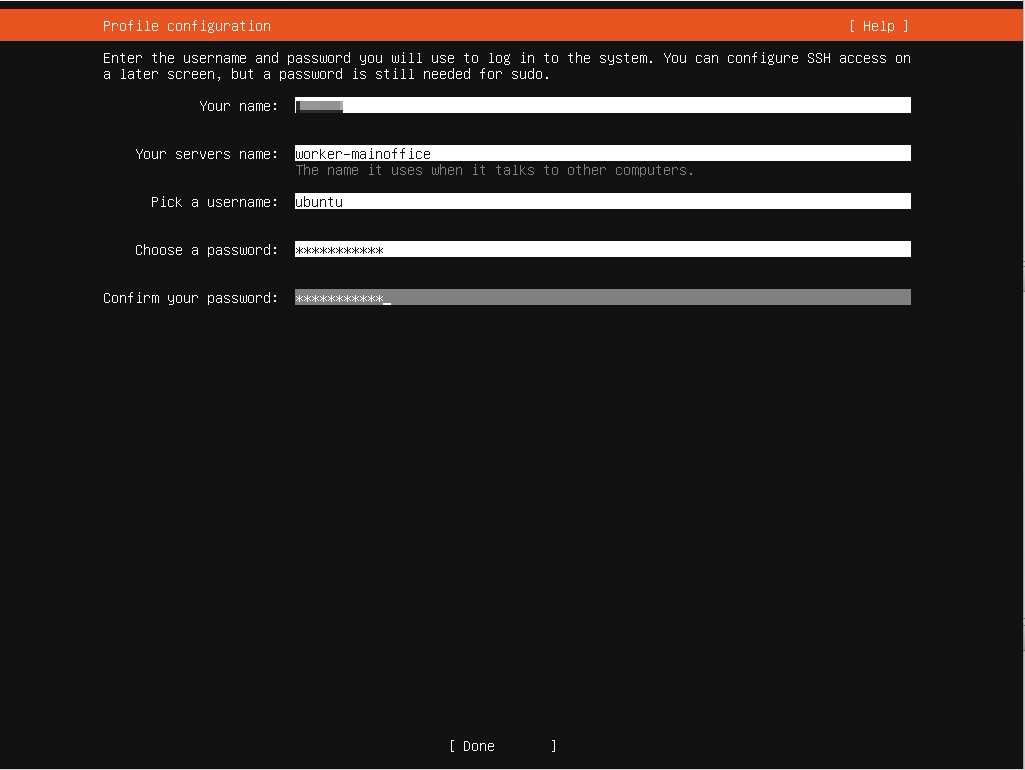
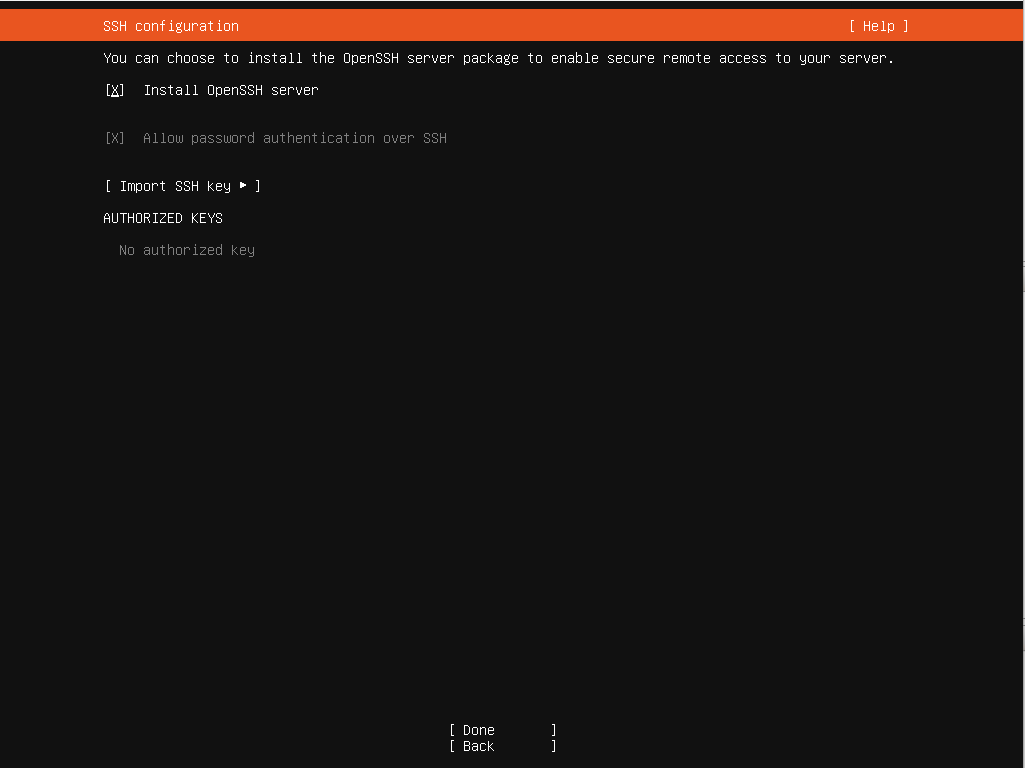
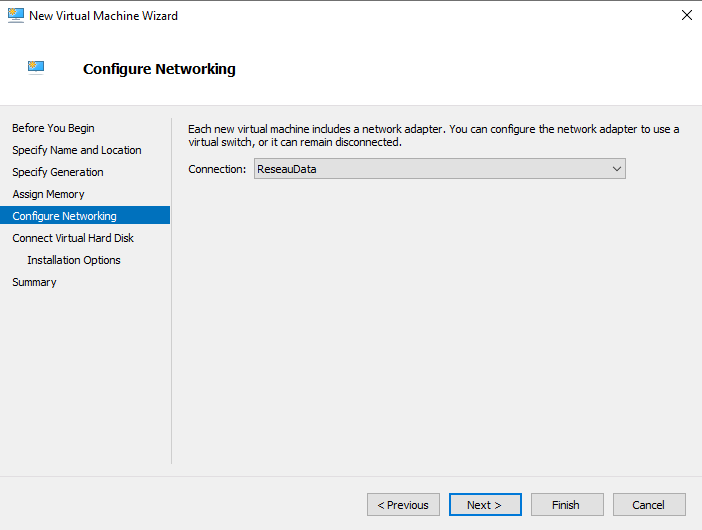
3. Start the virtual machine and follow the steps to install Ubuntu Server. Be sure to enable OpenSSH Server installation during installation and ideally assign it a static IP address or make a reservation on your DHCP server.

4. Connect to your virtual machine via SSH once it has been rebooted.
5. Install Boundary as follows:
wget -O- https://apt.releases.hashicorp.com/gpg | sudo gpg --dearmor -o /usr/share/keyrings/hashicorp-archive-keyring.gpg
echo "deb [signed-by=/usr/share/keyrings/hashicorp-archive-keyring.gpg] https://apt.releases.hashicorp.com $(lsb_release -cs) main" | sudo tee /etc/apt/sources.list.d/hashicorp.list
sudo apt update && sudo apt install boundary
6. Create a worker file:
sudo vi /etc/boundary.d/worker.hcl7. Instead of connecting it to 127.0.0.1, you’ll need to connect it to the address of your AWS controller that you created earlier. You should also make sure to enter the DNS you created in the public_addr section, and to include information in the tags section that will allow you to differentiate between different workers.
# # Note that this is an example systemd file and is not intended to be functional as-is.
# # Full configuration options can be found at https://www.boundaryproject.io/docs/configuration/worker

 listener "tcp" {
     purpose = "proxy"
     tls_disable = true
     address = "0.0.0.0"
 }

worker {
#   # Name attr must be unique across workers
   name = "worker-mainoffice"
#   description = "A default worker created demonstration"

#   # Workers must be able to reach controllers on :9201
   controllers = [
     "X.X.X.X:9201",
#     "10.0.0.2",
#     "10.0.0.3",
   ]

   public_addr = "worker-mainoffice.yourdomain.com"

   tags {
     type   = ["prod", "mainoffice"]
#     region = ["ca-central-1"]
   }
 }

# # must be same key as used on controller config#
 kms "aead" {
     purpose = "worker-auth"
     aead_type = "aes-gcm"
     key = "XXXXXXXXXXXXXXXXXXXXXXXXXXXXXXXXXXXXX"
     key_id = "global_worker-auth"
 }
8. If we want to make sure we don’t have to restart it every time the server is restarted, we can create a service.
sudo vi /etc/systemd/system/boundaryworker.service9. Enter the following information in the file:
[Unit]
Description=Boundary Worker

[Service]
Type=simple
User=root
ExecStart=/usr/bin/boundary server -config=/etc/boundary.d/worker.hcl
Restart=always

[Install]
WantedBy=multi-user.target
10. Then all that’s left to do is start it up and activate it:
sudo systemctl start boundaryworker
sudo systemctl status boundaryworker
sudo systemctl enable boundaryworker
11. Now you just have to make sure that the 9202 is redirected to your Worker Boundary in your router.
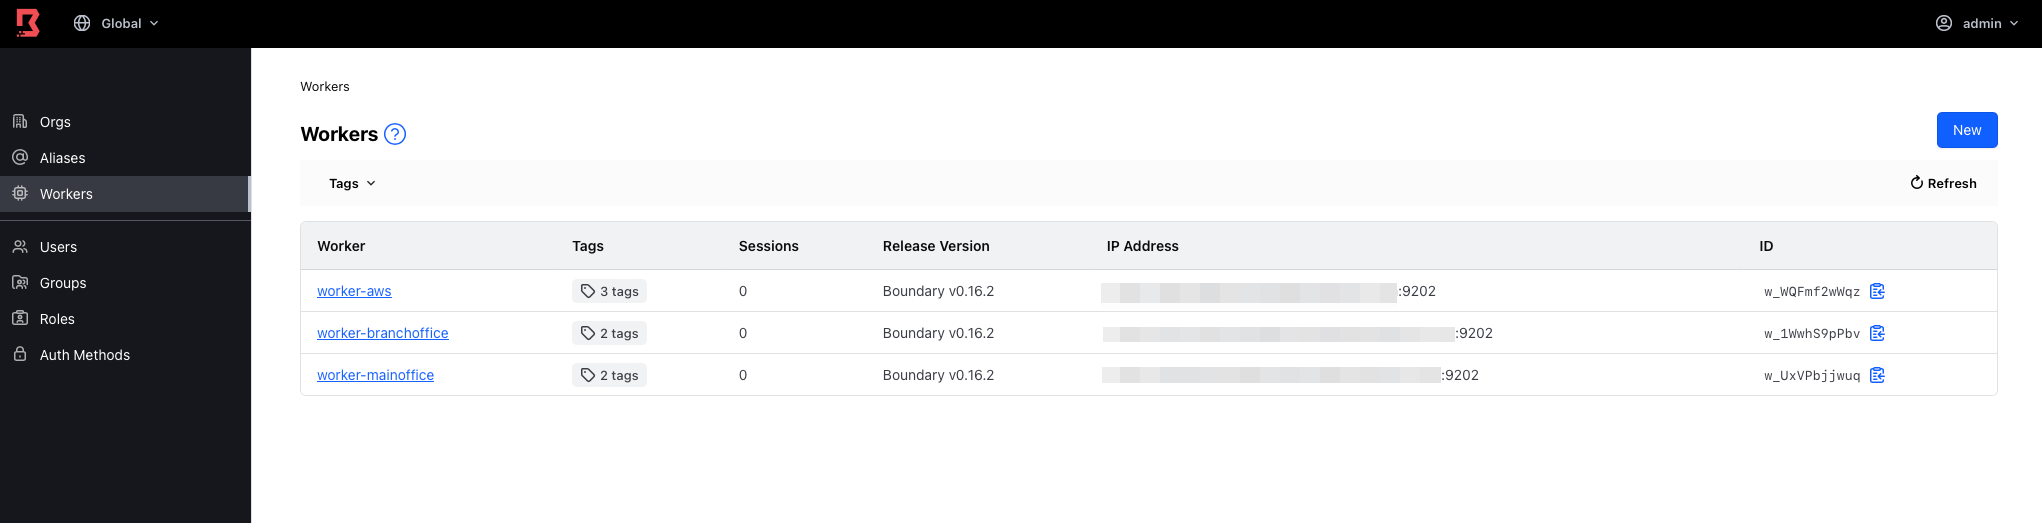
12. Once this is done, you’ll be able to use it via the main Boundary server. If you return to the Boundary server web interface, you should now see 2 workers listed:
13. You can deploy as many workers as you need, depending on the number of internal networks you need to connect to. If you have servers with different cloud providers or several physical offices in which you have servers to manage, you can deploy a worker in each of these locations and connect it to the main controller.
Installing Vault
1. If you are deploying Vault on an instance that already has Boundary installed, you can simply use the following command in SSH to install it:
sudo apt install vault2. If, on the other hand, you prefer to deploy Vault on a separate instance, you can deploy an Ubuntu 24.04 Server LTS instance by referring to what is recommended at HashiCorp. Then simply follow these steps to install it:
wget -O- https://apt.releases.hashicorp.com/gpg | sudo gpg --dearmor -o /usr/share/keyrings/hashicorp-archive-keyring.gpg
echo "deb [signed-by=/usr/share/keyrings/hashicorp-archive-keyring.gpg] https://apt.releases.hashicorp.com $(lsb_release -cs) main" | sudo tee /etc/apt/sources.list.d/hashicorp.list
sudo apt update && sudo apt install vault
3. We will now modify the Vault configuration file. Vault allows you to store information in a variety of ways. In the following example, we’ll simply store it in text files on disk. If you’re thinking of deploying Vault in production, it would be wise to consider using another, more secure method.
sudo vi /etc/vault.d/vault.hcl4. Modify the information in the file to reflect the location of your SSL certificate and the name of your domain:
ui = true
storage "file" {
  path = "/opt/vault/data"
}
listener "tcp" {
  address       = "0.0.0.0:8200"
  tls_cert_file = "/etc/letsencrypt/live/UrlOfYourServer.com/fullchain.pem"
  tls_key_file  = "/etc/letsencrypt/live/UrlOfYourServer.com/privkey.pem"
}
api_addr = "https://UrlOfYourServer.com:8200"
5. We can then create a service:
sudo vi /etc/systemd/system/vault.service6. Add the following information to the file:
[Unit]
Description=Vault

[Service]
Type=simple
User=root
ExecStart=/usr/bin/vault server -config=/etc/vault.d/vault.hcl
Restart=always

[Install]
WantedBy=multi-user.target
7. Startup, validate that it starts correctly and activate the service:
sudo systemctl start vault
sudo systemctl status vault
sudo systemctl enable vault
8. You can now connect to the web page via port 8200 using the dns linked to the SSL certificate you used.
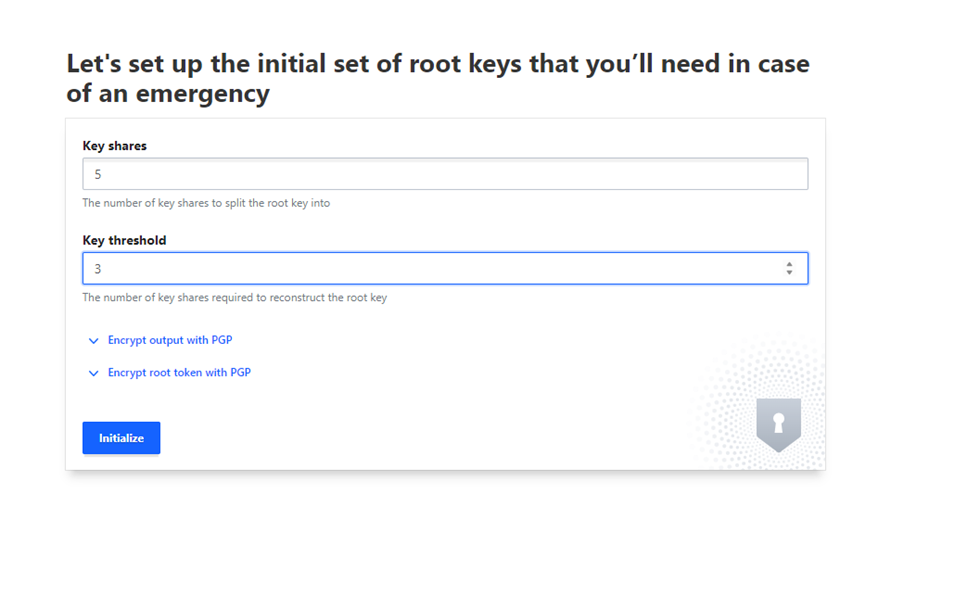
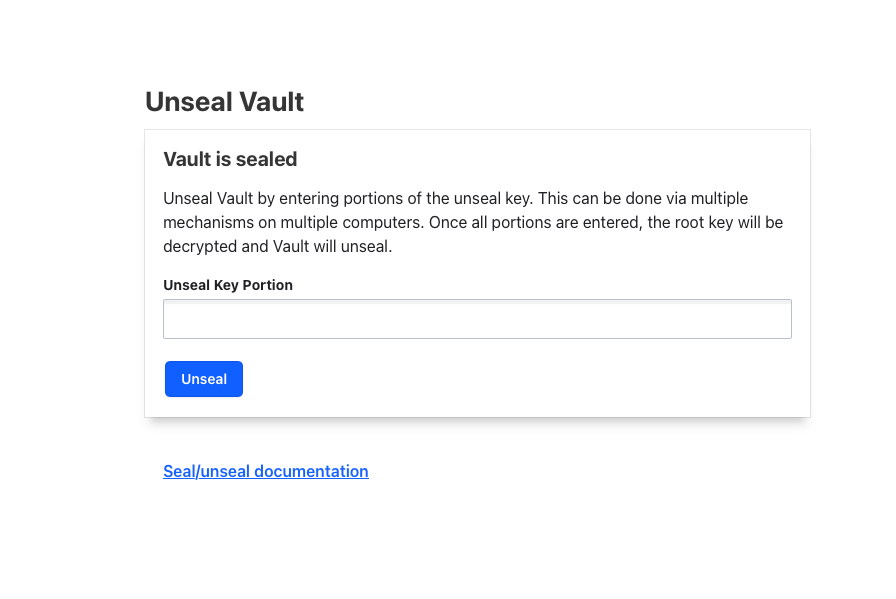
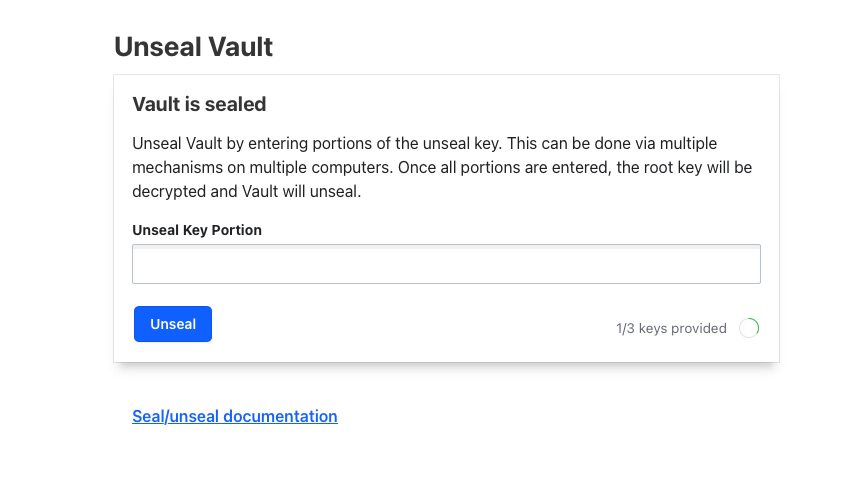
9. The first time you connect, you’ll need to enter a few details. Enter the number 5 in the “Key shares” section, 3 in the “Key threshold” section and download the JSON file that will be created once you press “Initialize”. To unlock Vault after each service restart, you’ll need to enter 3 of the 5 keys generated.
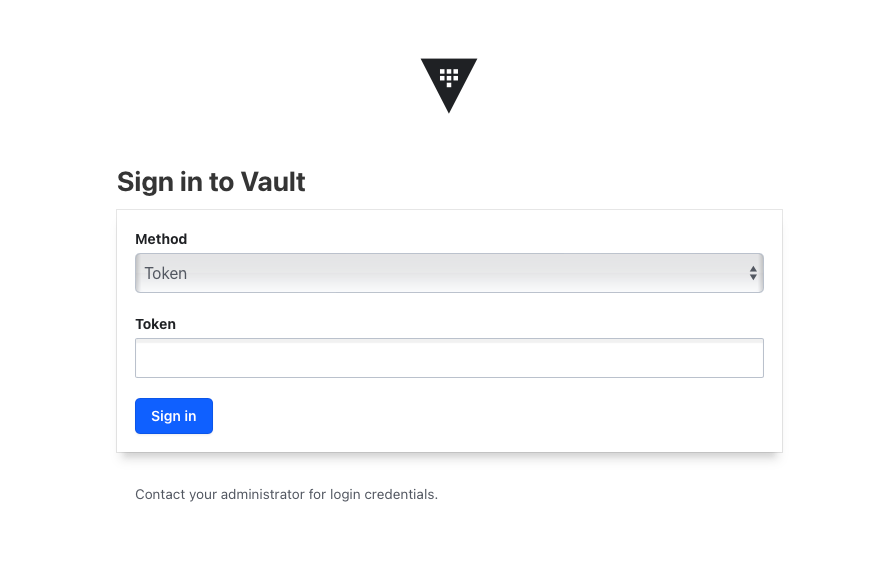
10. Enter the root token you received in the JSON file to log in once you’ve set 3 of the 5 keys to unlock Vault.

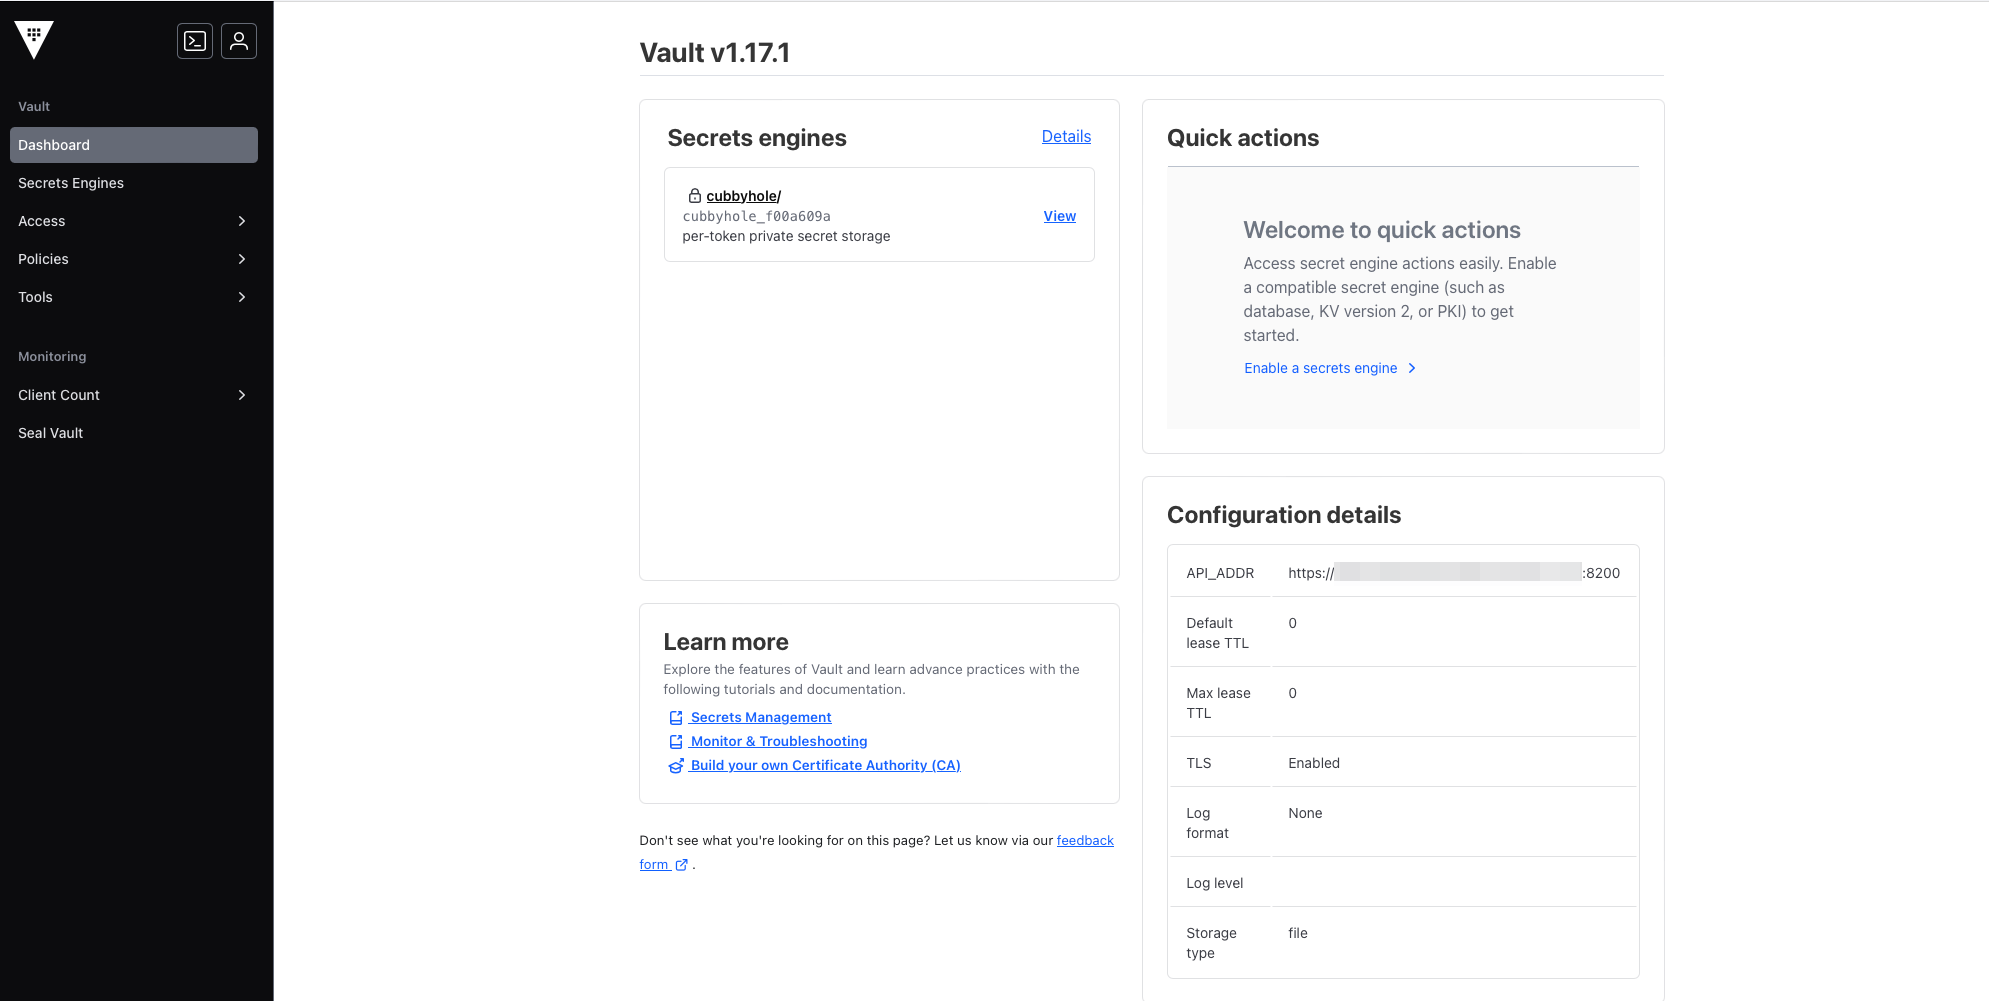
11. Vault installation is complete.
Installing a Windows Server 2019 Virtual Machine
Here, we’ll assume that you already have a physical server running Windows Server 2019 in the Hyper-V role. This server is configured inside your company network and already has at least one Windows Server virtual machine configured as a domain controller.
1. Create a virtual machine running Windows Server 2019. You could also use Windows 11 or any other version of Windows you have available.

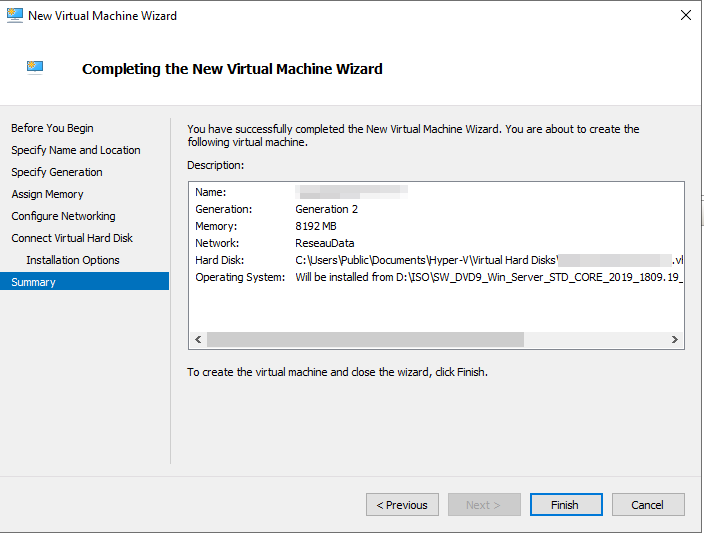
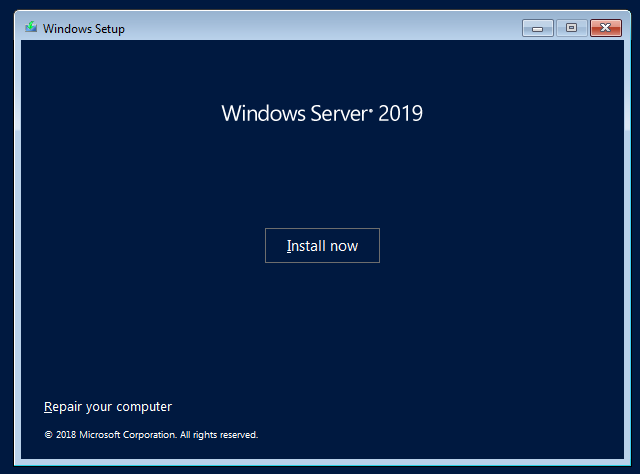
2. Install the operating system

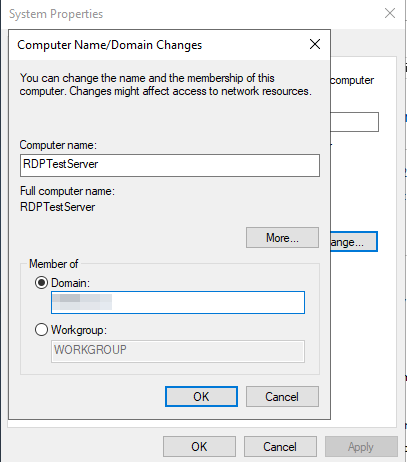
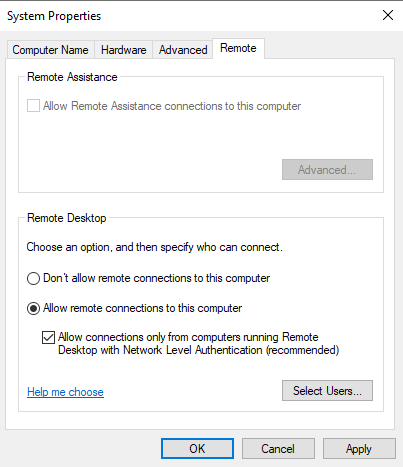
3. Make sure you connect the virtual machine to your domain and enable the RDP connection.
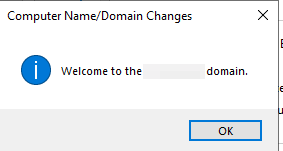
4. Your virtual machine configuration is now complete.
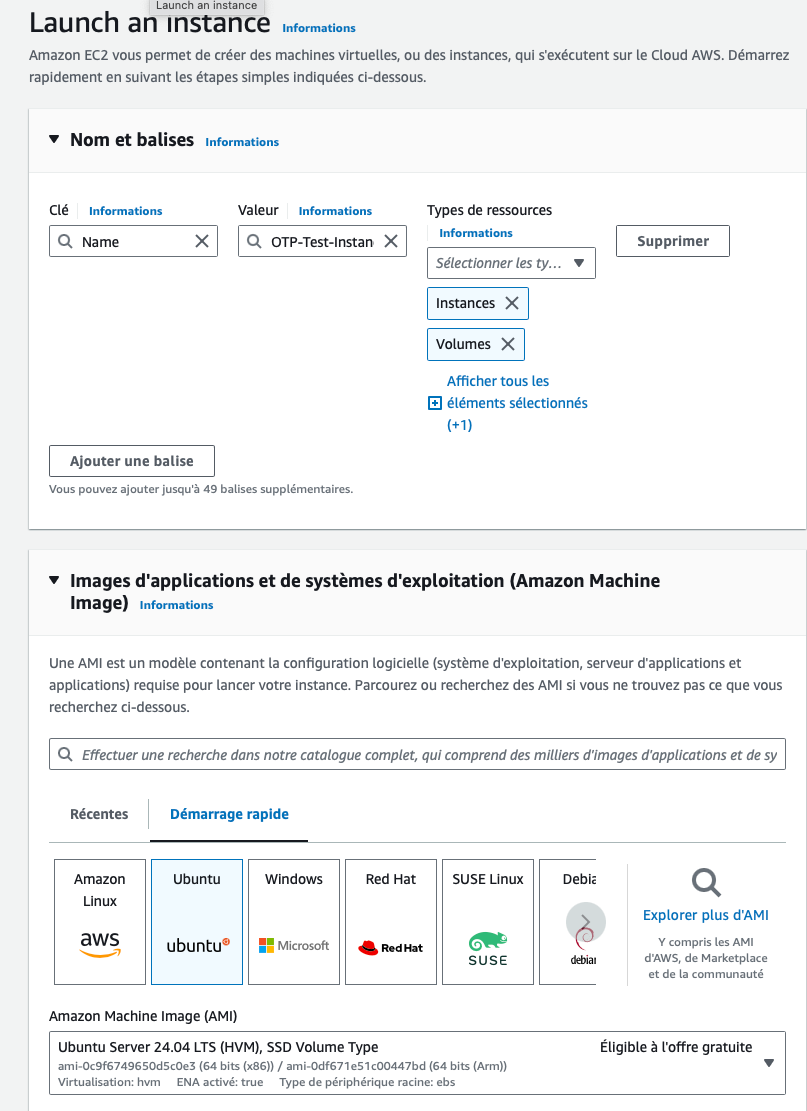
Create an Ubuntu Server 24.04 LTS Instance at AWS
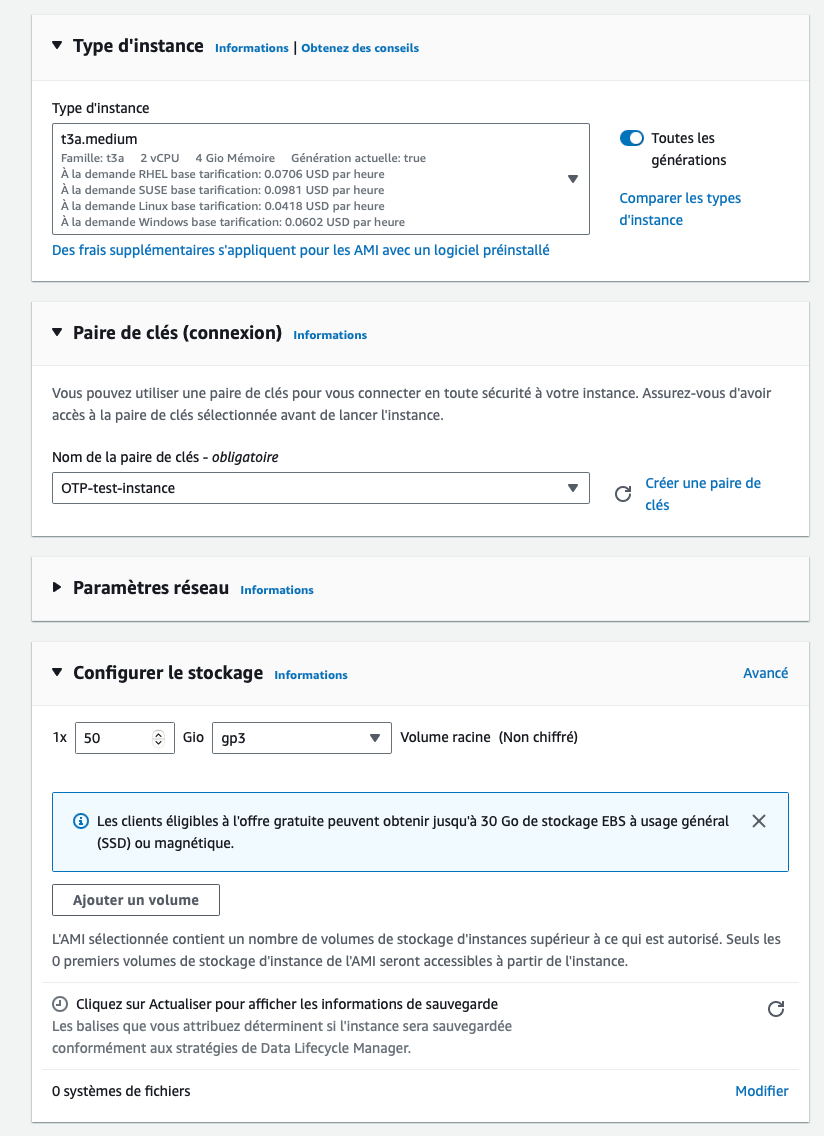
1. Deploy an Ubuntu Server 24.04 LTS instance at AWS in the same subnet as your Boundary server, or in a subnet that your Boundary server is ideally able to connect to via the AWS internal network and not via the public network. We’re going to use a t3a.medium instance here, but if you intend to use it as a web server or similar, it’s up to you to use the type of instance that suits you best.
2. Make sure you use a security rule that allows both your workstations to connect via SSH to this instance and the internal IP address of your Boundary server.
3. Since we only need to have SSH access to this instance, the configuration is completed.